*This article may contain product links which pay me a small commission if you make a purchase. Learn more.
Powerful but safe pitching mechanics are incredibly important for the longevity of a baseball player. In this detailed guide to pitching mechanics, learn how to pitch from a former pro. Throwing technique is shown in steps with tons of photos, videos and tips and more. Most players–at some point–want to learn how to pitch. Not all parents or coaches know how to teach proper technique, so we’ll break it down here for you.
But first, if you’re more of a visual learner and would prefer a complete video breakdown of pitching mechanics from start to finish, the following video is for you:
Start with the Basics
How DO you teach pitching mechanics? The first step is getting the basic wind up and stretch footwork down, which is simple and can be learned at pretty much any age.
After that, learning how the hands and legs move together, what the glove arm does, how the back leg drive the pitcher down the mound, and how the chest controls the body are all part of the complete package.
So, as a former professional pitcher and instructor, I’ve got you covered with this detailed guide to creating safer, higher-velocity pitching mechanics. It’s important to remember that though velocity is NOT the only important aspect of pitching, it does allow pitchers to make more mistakes, and MLB velocity continues to increase.
Proper Fastball Spin for Pitchers
My video on fastball grips and spin is a great place start.
Safe But Powerful Pitching Mechanics?
Every parent wants his son to develop “safe” mechanics as they learn how to pitch…but what are they?
Is there a way to throw a baseball 90mph without getting hurt? If you want an in-depth look at pitching drills that will improve velocity and command, check out this pitching mechanics video.
And, for those wanting to dive deeper into pitching, be sure to check out my pitching book below.

Skip Ahead in this Pitching Mechanics Article
Read on and go step-by-step the first time, then jump back through the article using the table of contents below.
This article was written to be a reference, so you’ll want to bookmark it and come back later, using the table of contents to keep everything straight.
Click any chapter in the table of contents to jump there.
Can Pitching Mechanics Really Be “Safe?”
No. They just can’t–pitching is a high-risk, high-stress activity on the throwing arm.
It’s important for you to really understand just how hard pitching is on the body.
Here’s what you need to know before we really get rolling here:
- Pitching is not a safe activity.
- “Safe” just means lower relative arm stress, according to research performed by the American Sports Medicine Institute (ASMI), there is a set of pitching mechanics that will maximize pitch velocity while minimizing (keyword: minimizing, not eliminating) arm stress.
- Pitching is inherently VERY STRESSFUL on the arm and body as a whole. It’s considered a 100% injury rate position for those who play long enough, meaning that pretty much every pitcher lands on the Injured List for some period of time in his career.
- You will never eliminate arm stress no matter how good your mechanics are.
- Higher pitching velocities = more arm stress. The better trained a pitcher is, and the better he is at throwing hard, the more stress he creates for his arm. It’s a double-edged sword that improving mechanics improves velocity, and improved velocity means higher stress and injury potential.
So please, read on knowing that good pitching mechanics will lead to more fun playing baseball, but may also lead to more potential for injury.
If you want your son to stay completely safe, choose a different sport or position altogether.
1 | The Wind Up
The wind up in baseball is a hallowed tradition, one that’s now falling out of favor a bit.
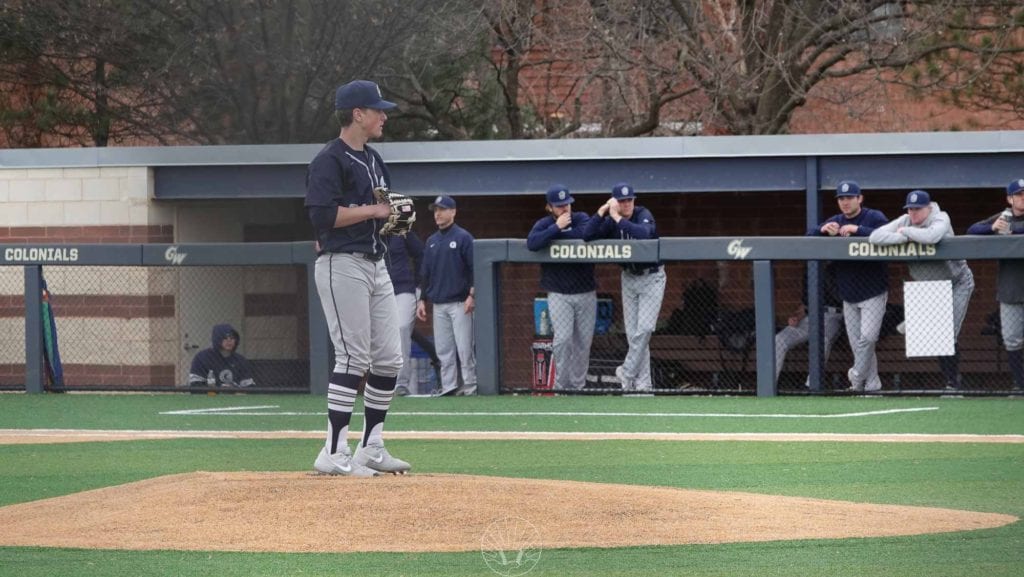
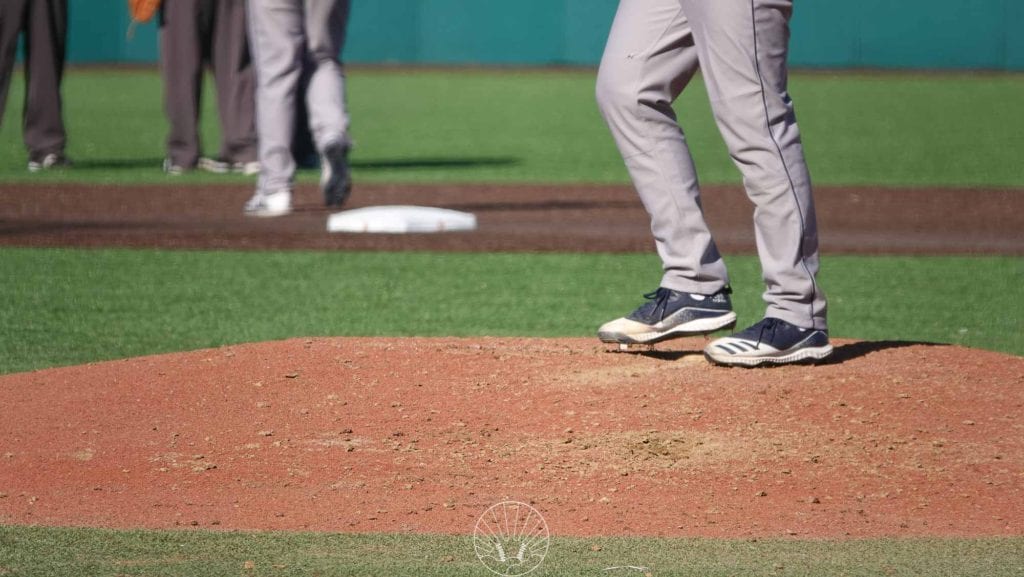
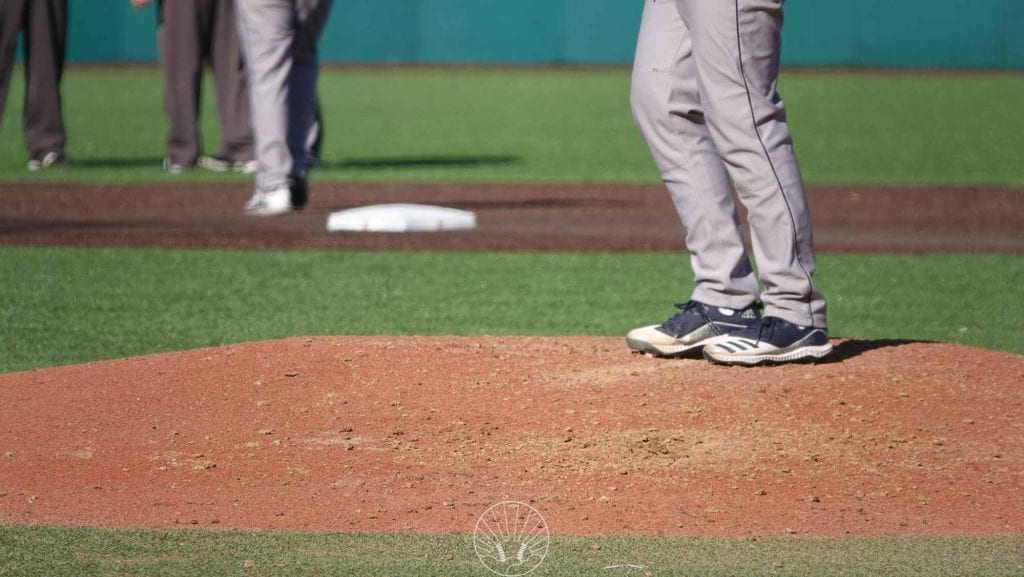
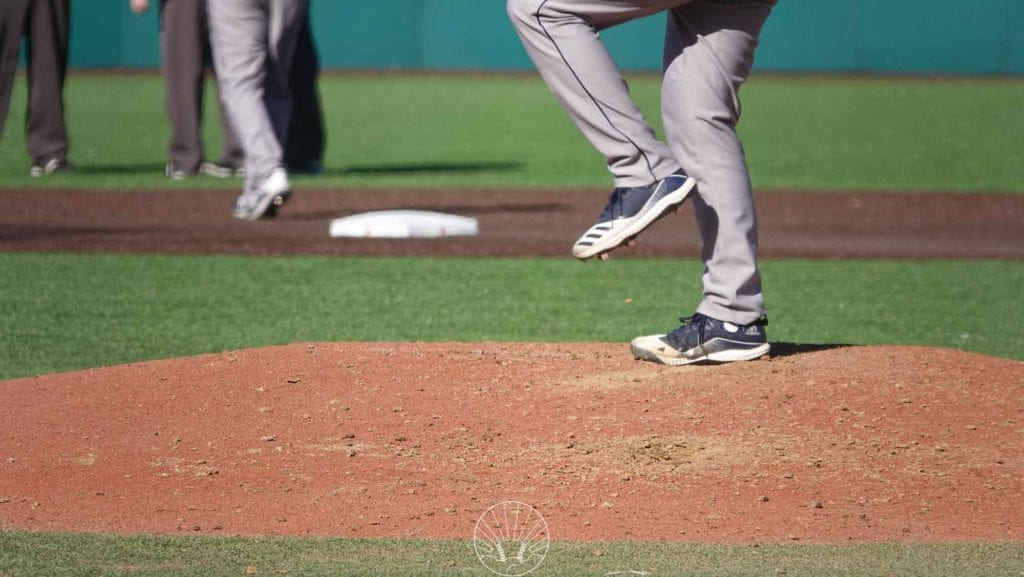
More pitchers than ever are choosing to always use the stretch position for sake of simplicity.
Is this okay? Sure.
Do I still believe the windup is an effective tool? Yes.
Basically, your decision to use or not use the wind up is up to you. I don’t have any overly compelling reasons to sway you one way over the other, except that I don’t think the wind up–done properly–is overly complicated and difficult.
Rather, it’s pretty easy and any pitcher who has enough athleticism to be good at baseball will find the wind up to be pretty easy.
Should you use the wind up? Give it a Try. If you don’t find as much success with it, then give it up–it’s your choice.
A Few More Notes on the Windup
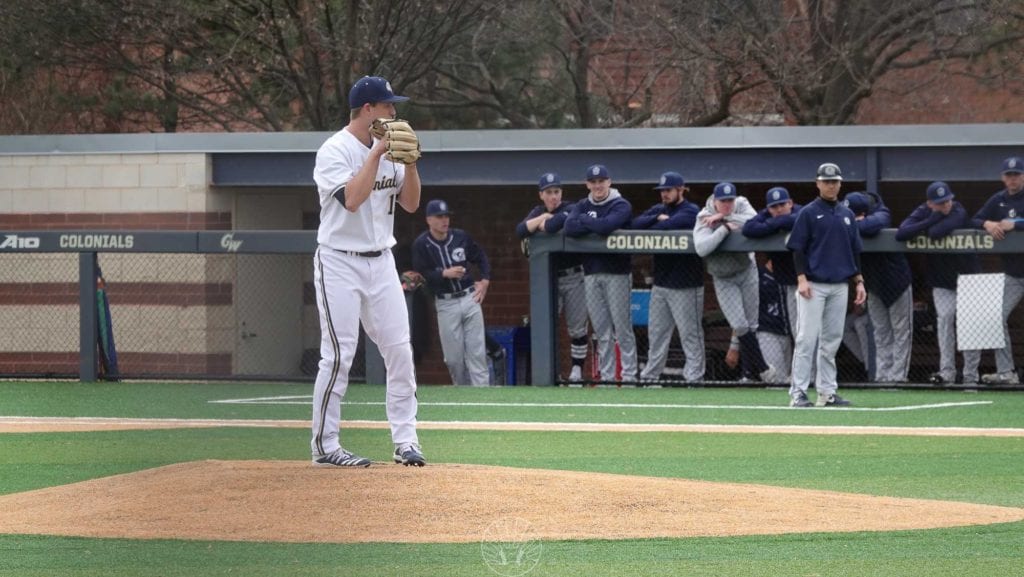
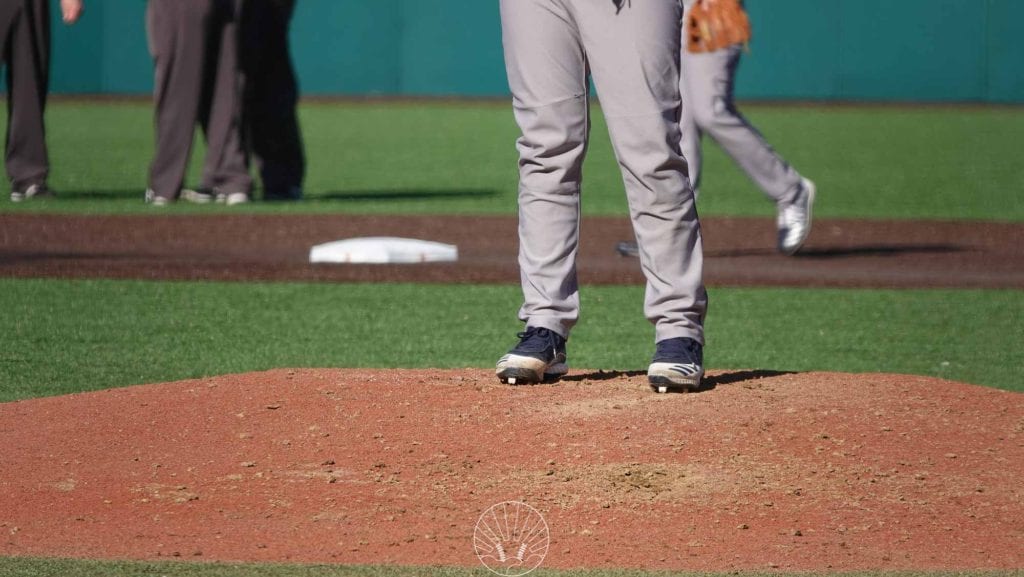
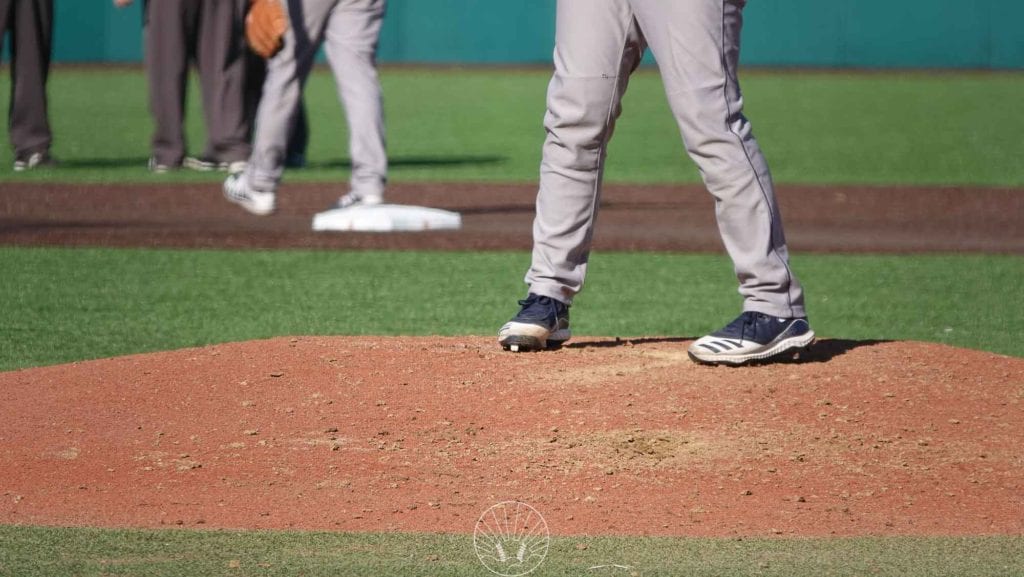
- Pitcher should stand with feet half-on and half-off the rubber
- Feet should be about shoulder-width apart.
- Do NOT allow a pitcher to stand with his feet together, as this is a very unathletic position that requires extra weight shift with each step, which only stands to make the wind up more complex.
- Hands should be in the glove held at the chest with the exact location up to the pitcher.
- It’s best to avoid the hands being held overly high or low, as this also forces the pitcher to move them extra for no good reason.
2 | Pitching a Baseball From The Stretch / Slide Step
Having a reliable, fast, repeatable stretch position is critical for success.
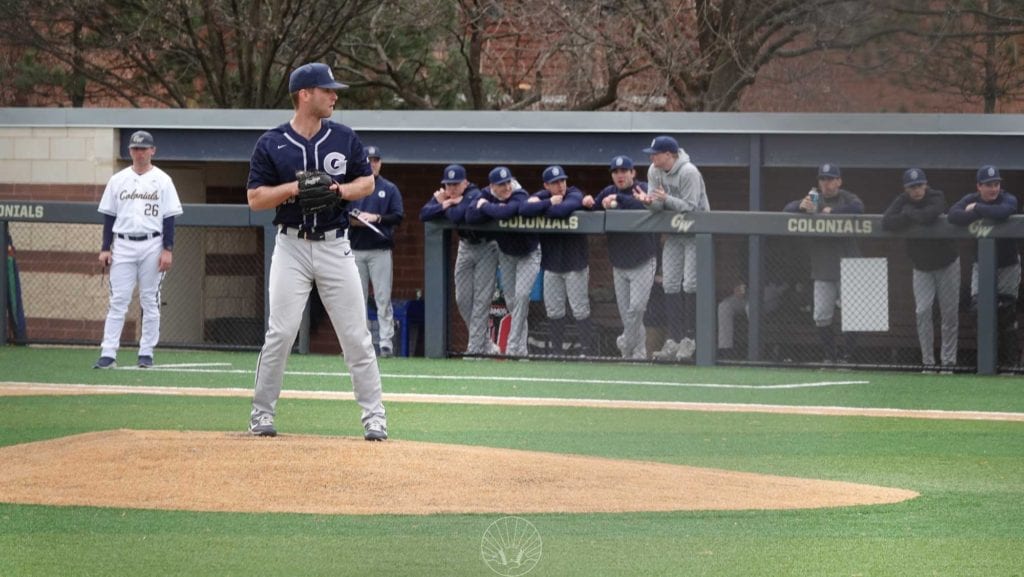
In the stretch position, pitchers have two options:
- Use a high leg kick with no runners on base (or when they’re on base but can’t really steal)
- With runners on base, this will result in every possible base being stolen against you, so it’s not ideal.
- Use the slide step, done properly the way the pros do it.
- Too many youth coaches over-coach this and force players to go too fast, which hurts their ability to throw strikes and throw hard. So, the goal is to do the slide step properly, under control, while still being fast.
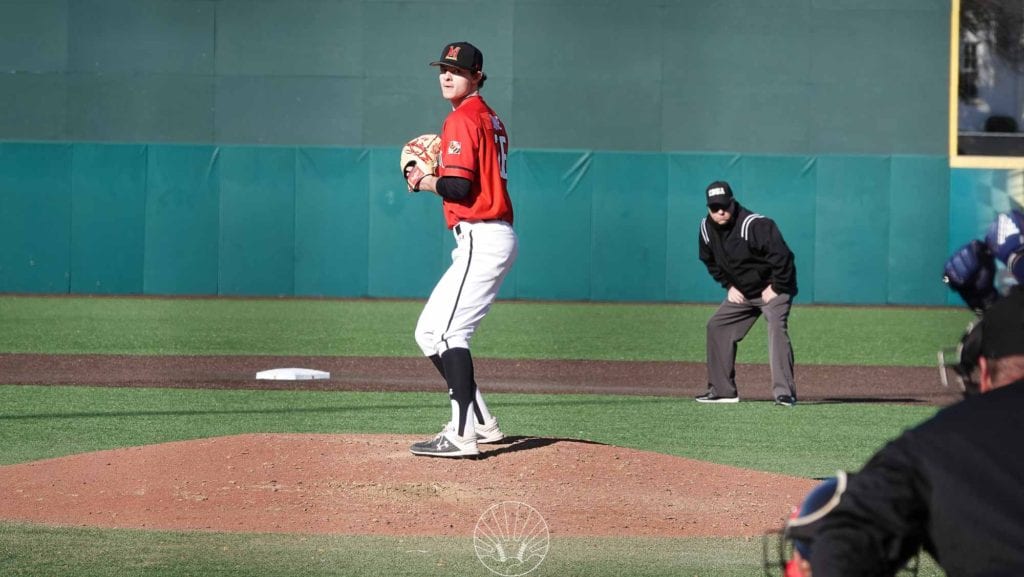
How to Do the Slide Step Like a Pro
Watch my video below for a thorough demonstration of how to do the slide step the right way.
3 | The Head & The Eyes
This isn’t really a step, but it’s important to address before we get much further.
Starting in the windup or stretch position, the pitcher should have his eyes locked on the catchers’ mitt.
Now, as the pitcher moves through the wind up, or as he begins his slide step, he’ll then shift to looking at the catcher out of the corner of his eye, and this is OK!
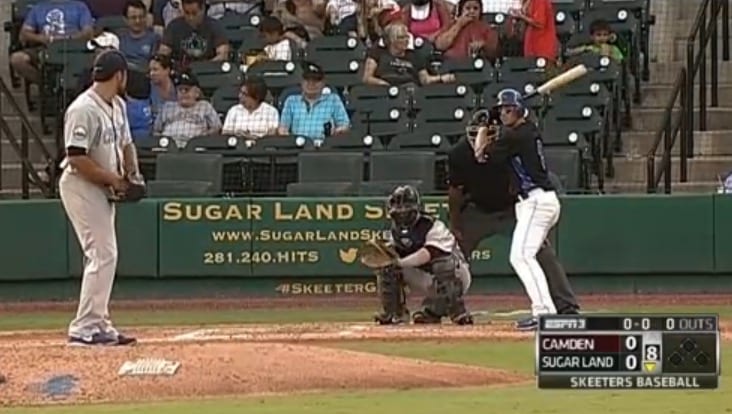
Some pitchers will look down at the ground at various points in the delivery, and this is also something that isn’t something to worry too much about-even MLB pitchers tend to look at the ground when lifting their leg up and back down.
Takeaway: Pitchers should lock their eyes on the mitt as much as possible, but many will look away at some point in the delivery, and this is usually okay as long as it doesn’t appear to be causing issues.
A lot of really good pitchers will look away, then re-acquire their target, so just keep an eye on it if you’re teaching a youngster and feel on the fence about it. If it’s not a problem, don’t worry about it; if you think it’s a problem, then ask for better eye targeting.
4 | Leg Lift
The leg lift or leg kick in pitching is highly personal and helps a pitcher develop more power, gain momentum and use his hips better.
Leg lifts are very personal, though there are a few rules:

Leg Kick Rules
- Keep the heel underneath the knee as the leg is lifted–it will be easier to stride straight to the plate this way, and is more athletic. Not all MLB pitchers do it this way, but the vast majority do.
- Get the leg at least to 90 degrees at the hip – so a player could sit a bowl of cereal on it without it sliding off his leg away from him.
- A leg a little higher than 90 is okay, but leg kicks should not go below that 90 degree point shown above.
A pitcher’s delivery should be something he finds comfort in and really values as a part of who he is as a baseball player. Let a pitcher have some athletic freedom in his style of windup (within reason).
This video on the leg kick should be a big help:
Leg lift height is a big piece of this – some pitchers are only comfortable with a very high leg kick (I was one of them) and others don’t mind being just 90 degrees.
To each their own.
Leg Kick = Balance Position?
The leg kick used to be referred to the balance position, which somewhat referred to the idea that pitchers would stop or balance there.
In reality, the pitcher never stops his delivery in the way we think of balancing as being something we do when stationary.
In the picture below, you can see how the pitcher’s momentum is already starting to move down the mound at the top of his leg lift.
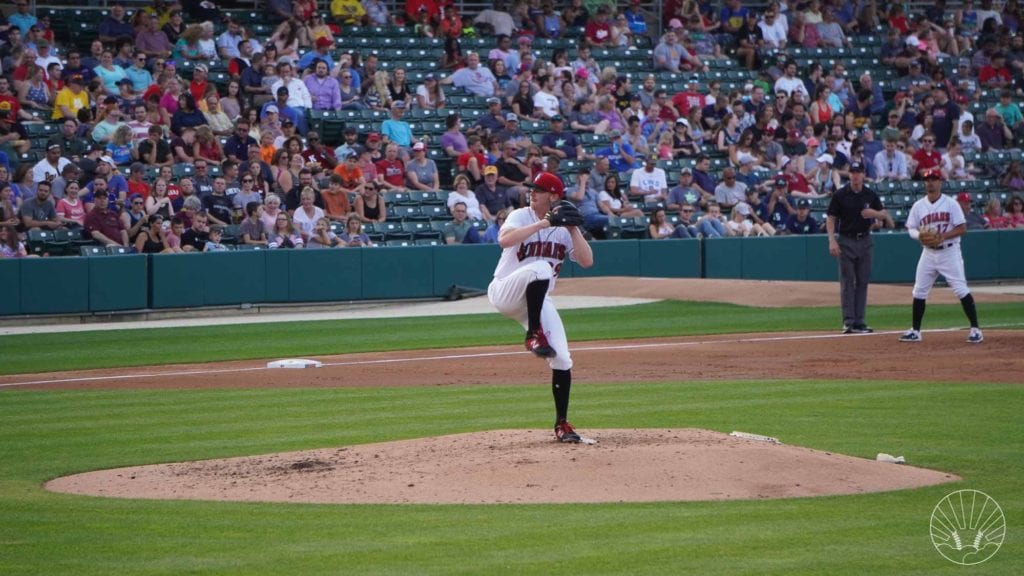
The leg lift DOES take balance and coordination, but not in the sense that the pitcher is ever stopped.
5 | Back Leg Drive
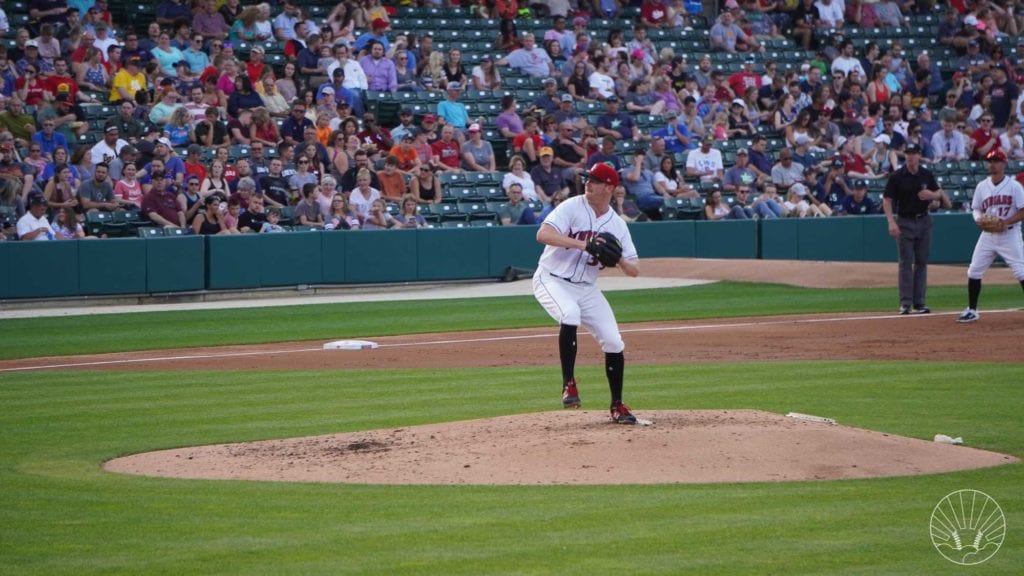
The back leg or “post leg” is responsible for shoving the pitcher down the mound. Shown below, the back knee cap is actually facing backward slightly–toward the shortstop.
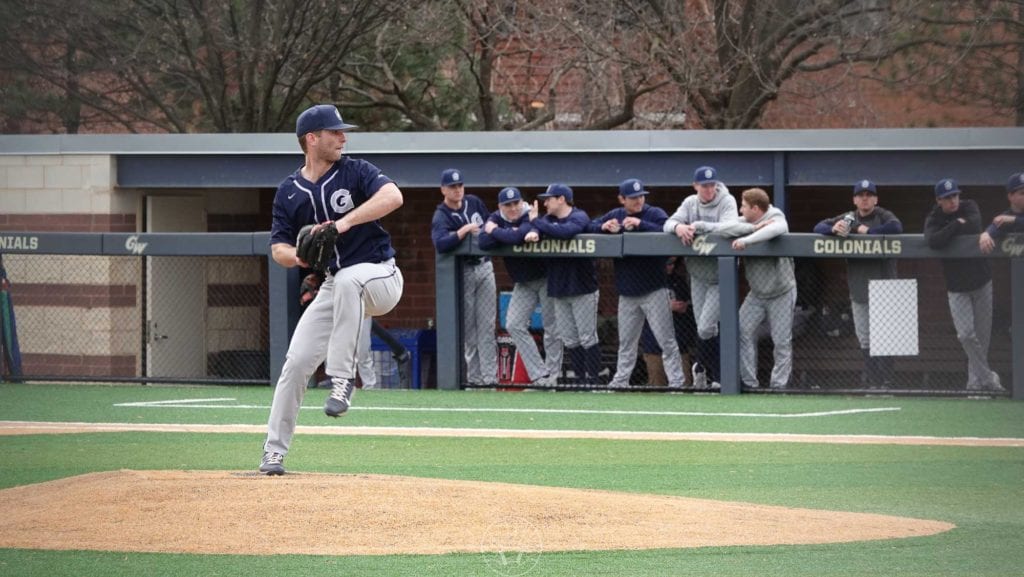
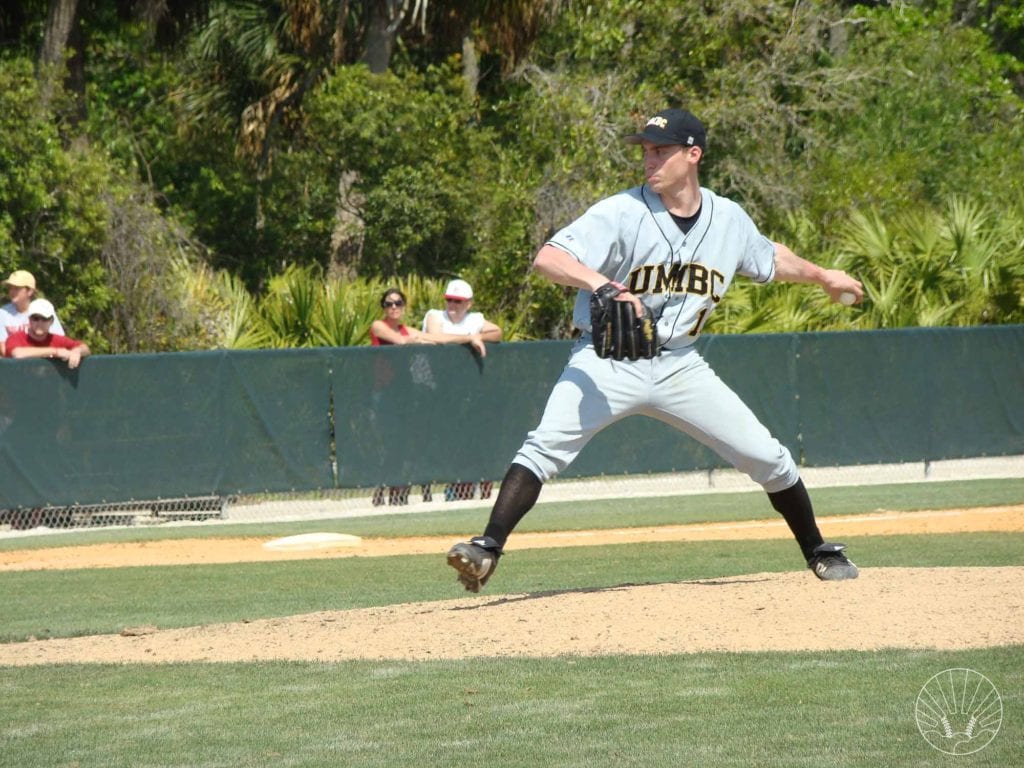
The hips need to rotate externally–away from the body–as the stride begins.
What this means is that the hips will rotate away from the plate, which then gives the pitcher greater shoulder-hip separation later on (we’ll cover this in a bit).
So, it’s important to see the pitcher’s back leg pushing him (driving him) away from the rubber as it rotates toward center field.
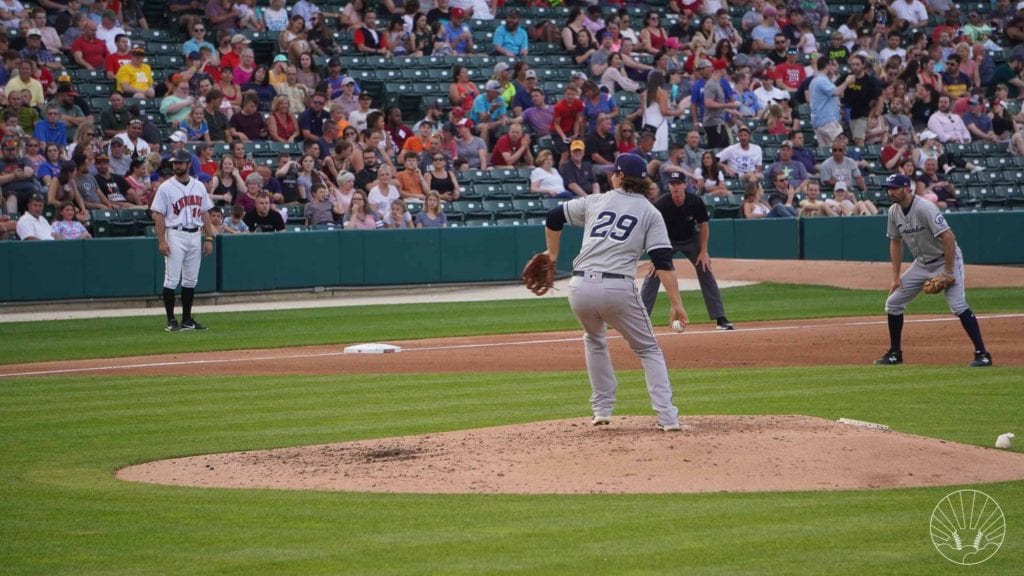
The way to think of the stride is basically a sideways push–we don’t want to use the quads any more than we have to, but rather rely on the lateral hip muscles and glutes (basically all the muscles in the butt).
Watch more about the back leg drive in this video above – highly worth your time.
6 | Hip Bump & Shoulder Tilt
Next, the front hip is going to point toward the catcher and “bump” out. What this looks like is below, as the pitcher is pointing his left hip far out in front of his body, leading the way with it.
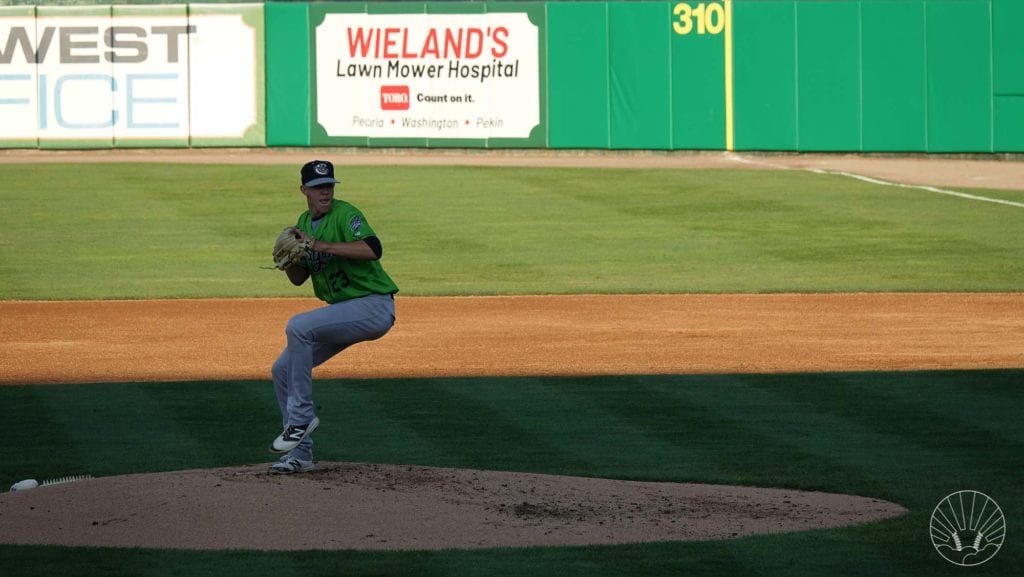
This is SO important for young pitchers to get right. I cannot stress enough how important this concept is.
The hip bump allows a pitcher to keep his weight back longer and produce uphill shoulder tilt (also shown below) so that he won’t be falling forward down the sloping mound.
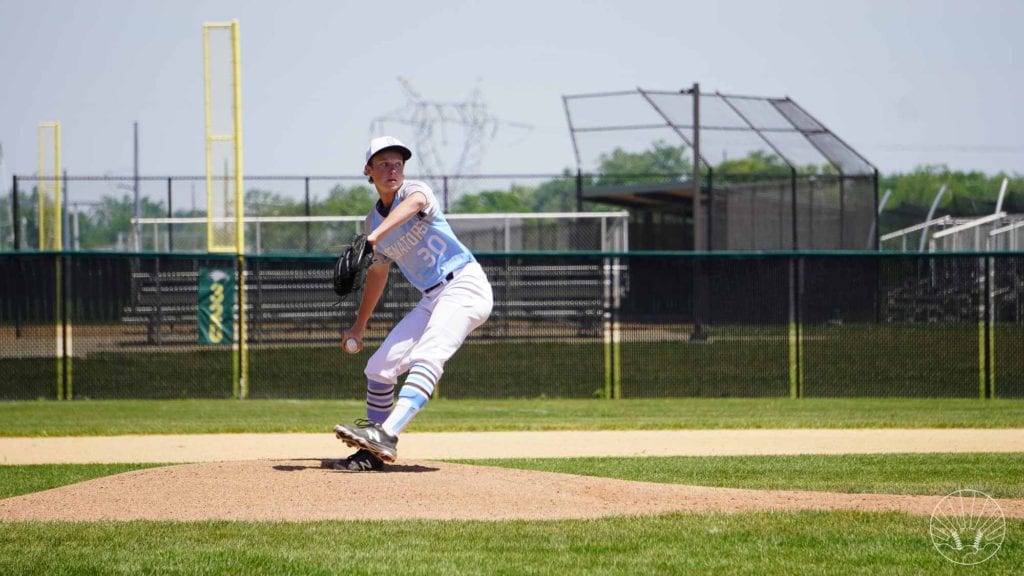
Basically, because the mound is downhill, pitchers need to go uphill.
Go Uphill Down the Mound: My Broken-Record Pitching Coach Saying
We need to get you to go uphill.
Tilt your shoulders more uphill.
The mound is downhill, so you go uphill before using your front side to go downhill.
The above sayings are things I say all the time. ALL. THE. TIME.
This uphill action is started with the hip bump leading the pitcher uphill, after which he can continue on with his weight staying back.
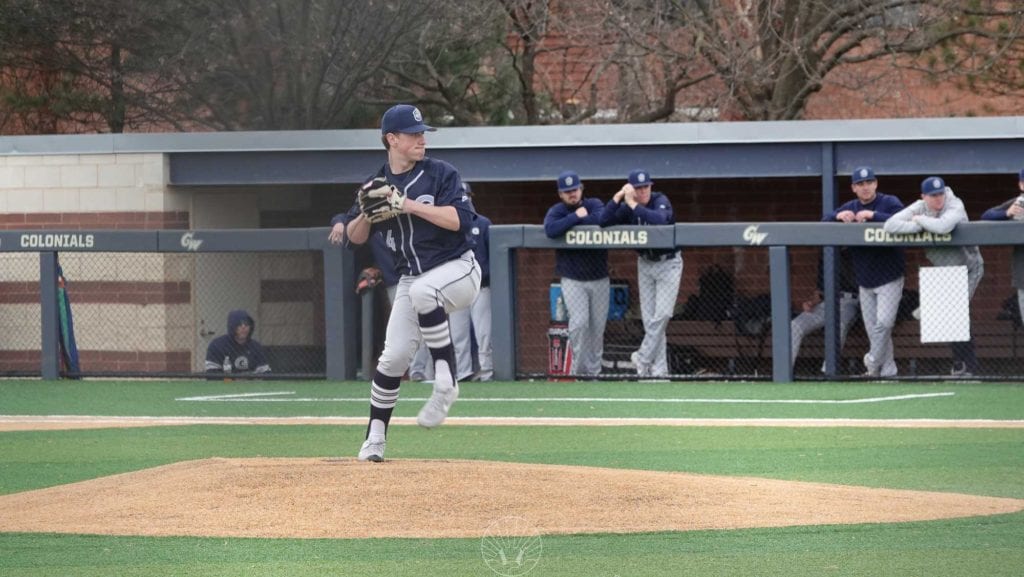
Then, he’ll shift all his weight at once (when he lands) and throw very, very hard.
One of my favorite pitching drills for the hip lead or “bump” is the wall-hip drill. It’s easy to perform for young pitchers or old–anyone who wants to throw faster can use it.
The “hip bump” in the pitching delivery is a critical piece of good pitching mechanics, and youth players especially need a lot of help getting this right.
For more on the hip bump, grab a copy of my pitching book below.

Basically, because the mound is a downhill slope and we need to land with our weight back and shoulders level or tilted slightly upward.
Watch the video below for a more thorough explanation.
7 | Shoulder-Hip Separation at Stride Landing
Shoulder-hip separation is a huge component of the mechanics of pitching. Why?
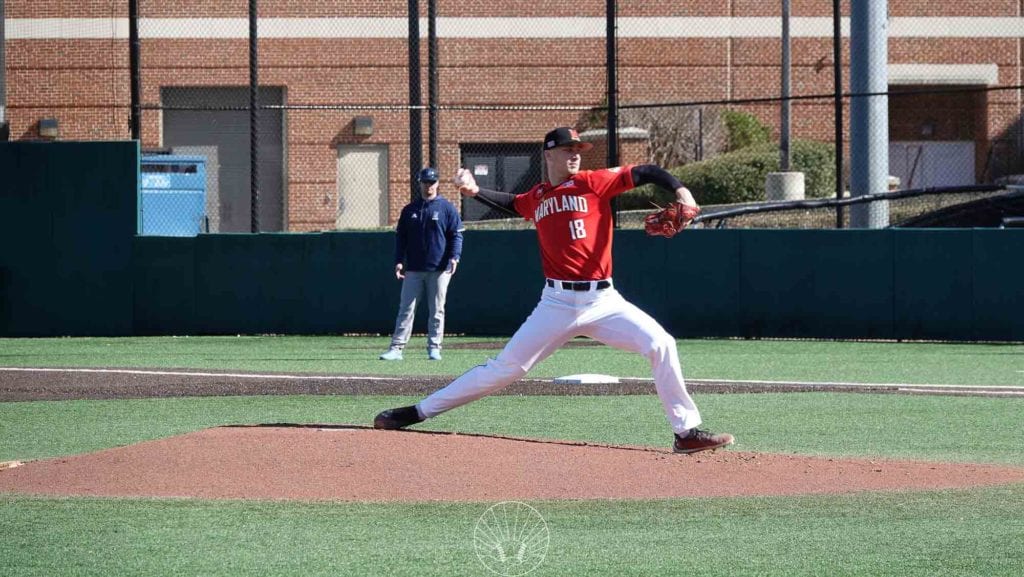
See how with the pitcher below, his jersey is pointed toward shortstop, whereas his hip bones are angled toward the plate?
This is shoulder-hip separation, and we “count it” when the stride foot justttttt touches down. This point is called “stride foot contact” or “stride foot landing.”
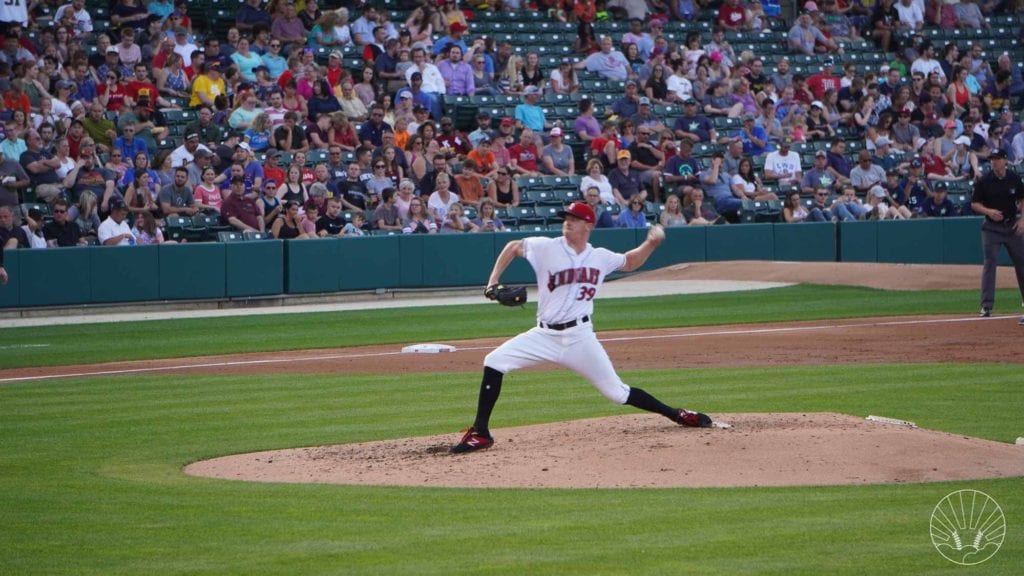
This position is where we get this rubber-band effect, where the lower body slings the upperbody (and thus the arm) forward with increased power. Pitching velocity is dramatically affected by the separation a pitcher gets, and how well he utilizes it.
In the gif below, you’ll see how Pedro Martinez’ Phillies logo is pointed back toward the shortstop when he lands.
This chest direction, when his hips are angled toward the plate, is what we refer to as shoulder-hip separation: the upper half and lower half of the body are both rotated away from each other.
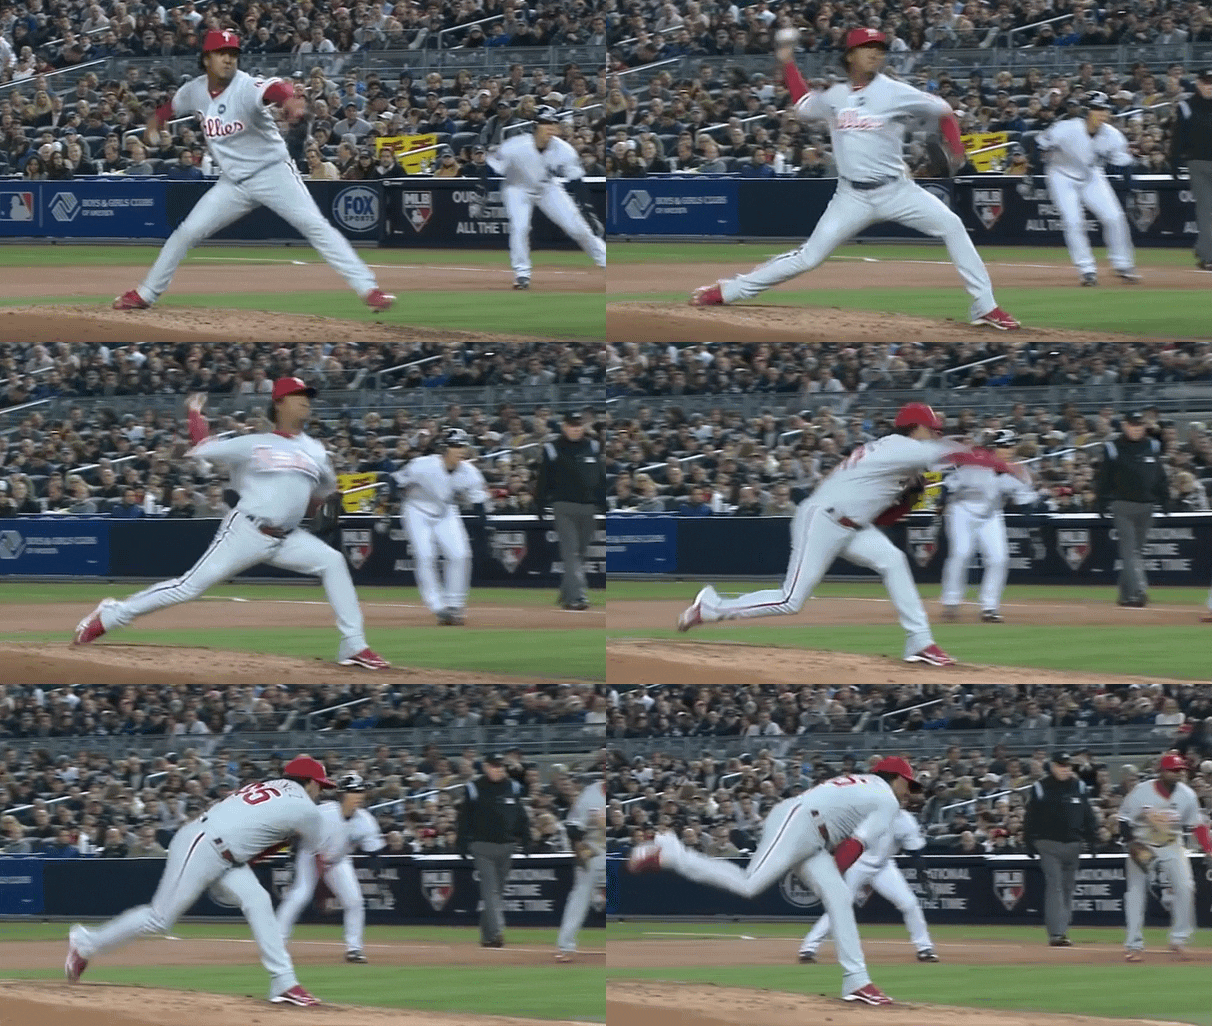
Young or old, hard-throwing baseball players have lots of shoulder-hip separation.
Okay, Let’s Talk a Bit More About Shoulder-Hip Separation
Watch the video below for an even more thorough explanation of how to pitch with great shoulder-hip separation.
Again, when the hips “separate” or move away from the direction the upper body is facing, it creates stretching between them.
This stretching is something you’ll see from every high-level pitcher, thrower and hitter.
8 | Stride Direction
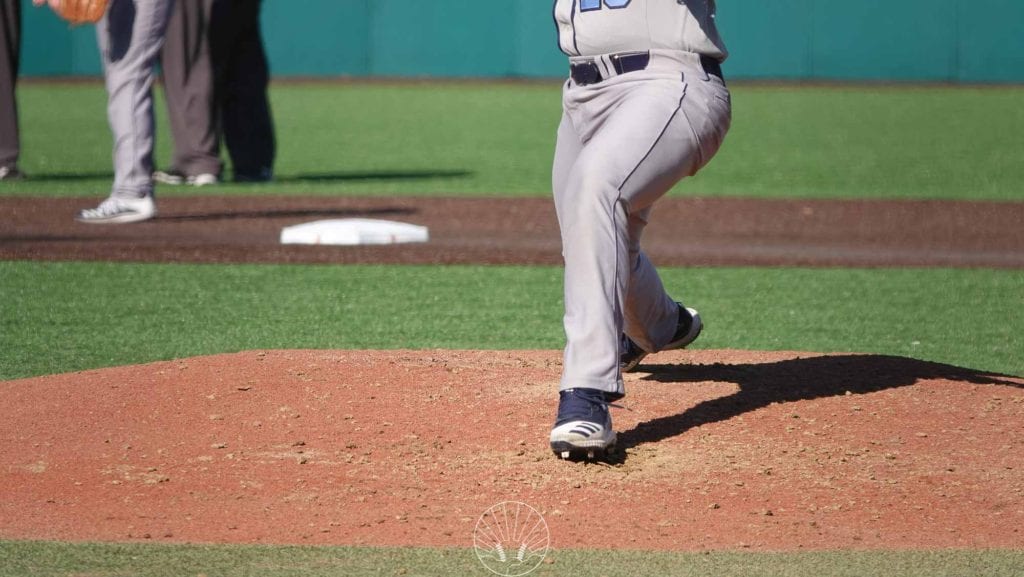
Stride direction is super important for a pitcher to do all of the following to the best of his ability:
- Throw at his highest possible velocity
- Minimize arm stress
- Throw quality breaking balls and offspeed pitches
- Throw the ball where he wants it
If the stride is too far across the body, a pitcher will struggle to get on top of his pitches, making breaking balls more loopy and soft-breaking.
It will also force the arm to lay back behind his head more, potentially increasing shoulder stress. The body will lean heavily to compensate and make locating more difficult.
What about striding too far to the glove side? Watch the video below for complete answers to all of it.
9 | How The Foot / Toe Should Land
The answer here is relatively simple:
- Most MLB pitchers land on their heel or flat foot
- Some pitchers land on their toe, but it’s slight…
- …landing on the toe in young pitchers is usually a sign a pitcher’s weight leaked forward too soon
Coaches back in the day taught that landing on the toe was proper technique, yet no one ever answered why.
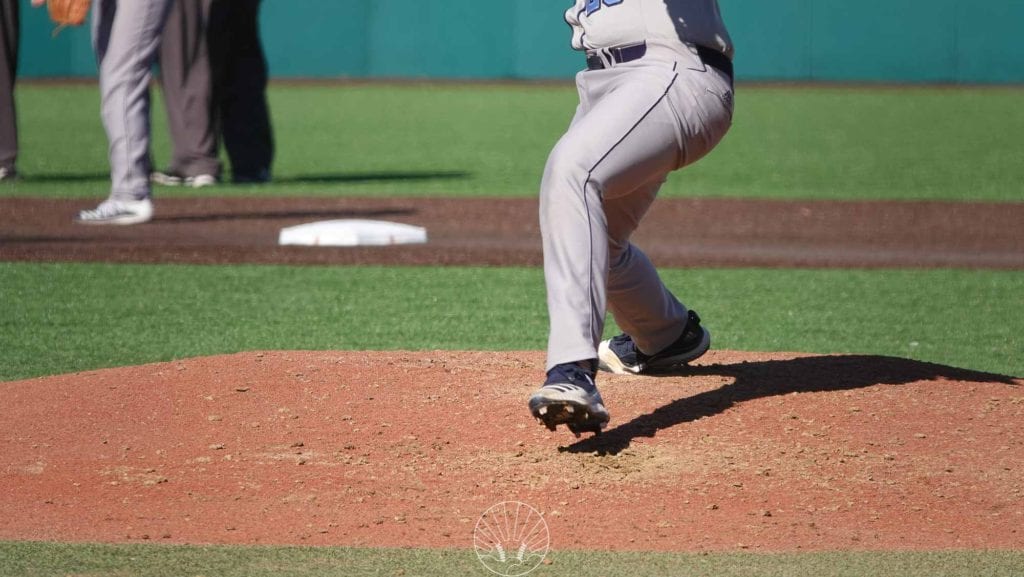
I was taught this as a kid, and yet I never actually landed on my toe (I did end up throwing in the low-mid 90s, so my body figured out the best way to do a lot of things).
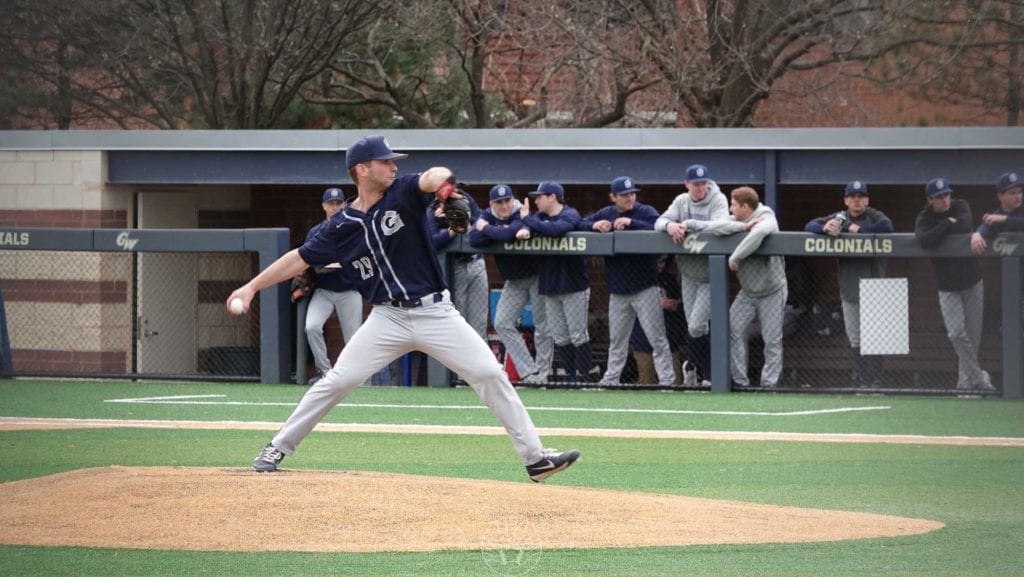
Video evidence is conclusive: most pitchers land on their heel or flat foot–there’s no disputing it. Some pitchers land on their toe, but it’s often a very slight toe landing.
Why Is Landing on the Heel a Good Thing?
A benefit of landing on the heel is that it gives a pitcher a little more time to get his hips into the right position, where they can full rotate open toward the plate a bit later.
If a pitcher lands too closed and on his toe, his foot will basically be stuck where he lands.
Landing on the heel allows the hips to essentially correct themselves a bit at the landing.
What Direction Should The Toe Face on Landing?
The toe should face 1 o’clock or 12 o’clock for righties, 11 o’clock or 12 o’clock for lefties.
In the photo below, the pitcher looks great – he’s at perhaps 12:30 on his personal landing clock.
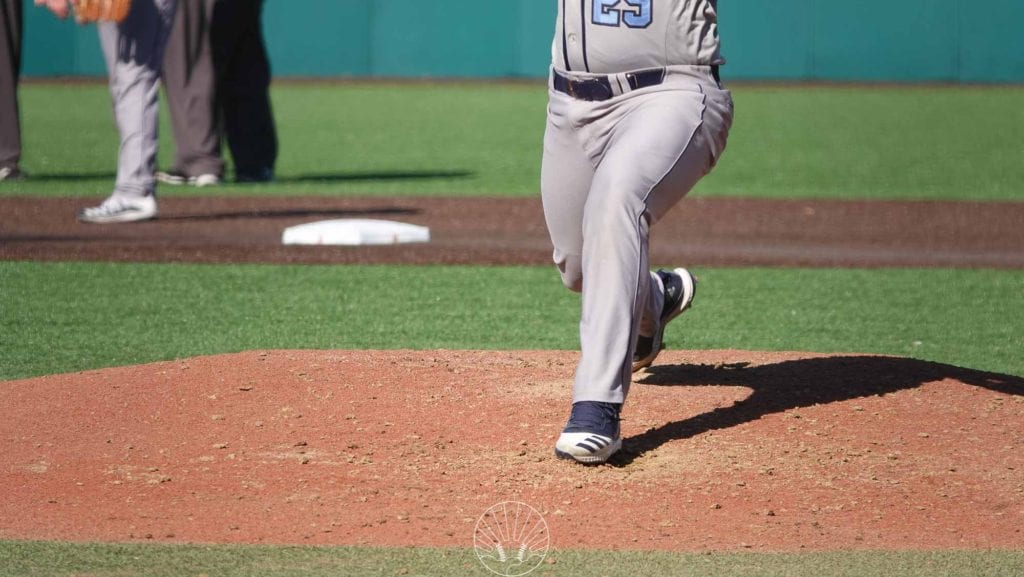
These are little details that can become important, because what the hips are doing, the foot will do. What the foot is doing, the hips will do–they both work together and against each other, but also indicate what the other is doing.
So, don’t forget about the foot and toe when the stride concludes – they’re both important pieces in the process of learning how to pitch.
10 | Arm Timing at Stride Landing
Arm timing is really, really important for a pitcher. By arm timing we’re talking about where his forearm is relative to the rest of his body. In the photo below, the pitcher has good arm timing, as his forearm (with the baseball in hand) is slightly above parallel with the ground.

Arm timing is basically where the rubber meets the road in pitching mechanics–with bad timing, the arm takes on more stress and velocity is decreased.
This is one of the most critical components of pitching, and something I was always working toward with my pitchers.
What Proper Arm Timing Looks Like:
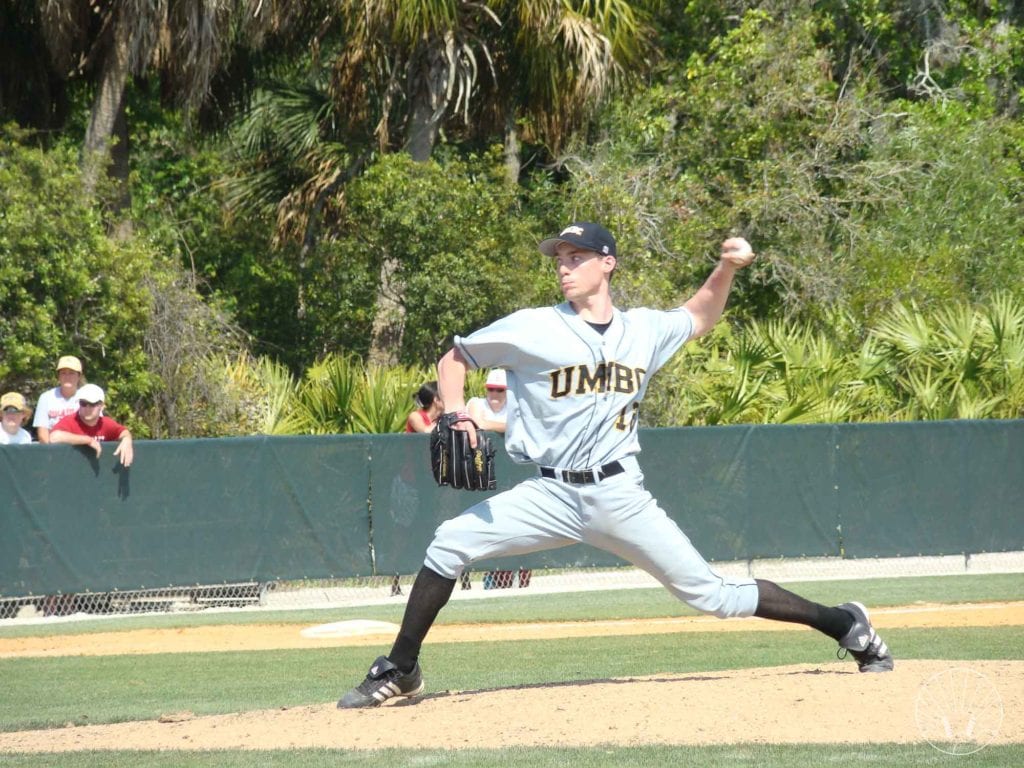
Proper arm timing in pitching is the following:
- Where the forearm is when the stride foot first contacts the ground
- The angle of the elbow joint is 90 degrees or slightly less
- The upper arm is level with the shoulder-line or slightly below
- The hand is facing sideways, not pointed back (which was old school wisdom that is proven false)
Landing with the arm “late” is bad for a few reasons
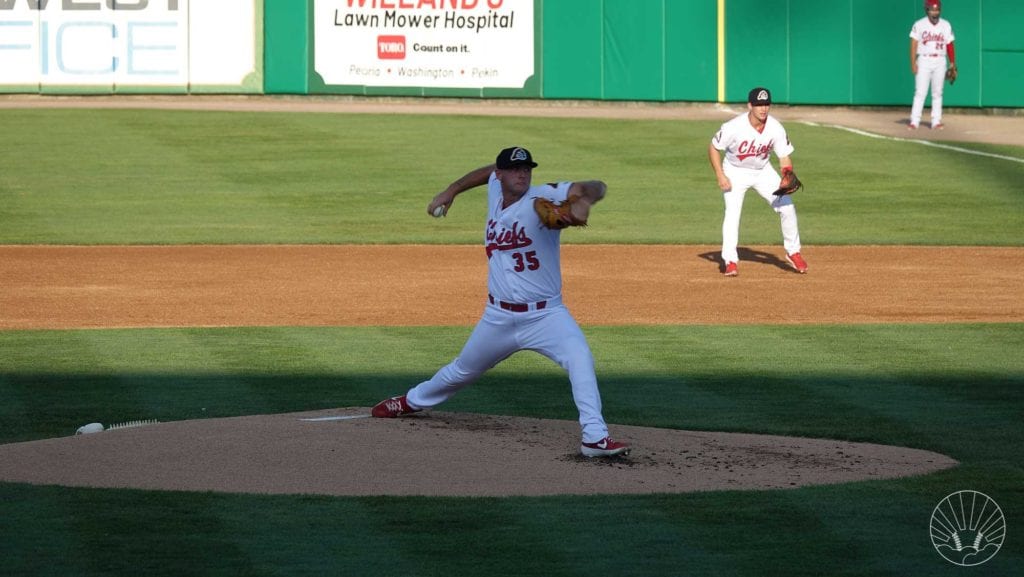
- It puts more stress on the shoulder and elbow, as they have to “catch up” to hips that are already rotating, and rotating FAST.
- It’s harder to get on top and behind the ball, as the forearm is late compared to the rest of the body
- It’s harder to throw good, sharp breaking pitches because of this same lateness
- Anecdotal evidence suggests there may be increased risk of major injury with late arm timing
Landing with the arm “early” is also bad
But the problem here is a bit more of performance – if the arm gets to the “high cocked” position too soon, it won’t lay back as fast and as powerfully as we need it to.
Then, a pitcher can’t throw as hard as he’ll need to to compete.
11 | Joint Angles: Elbow & Shoulder at Stride Landing

When the pitcher’s stride foot (the front foot) just barely touches the ground, his stride is over (for biomechanical purposes) and we start looking at important things like:
- Where his chest is pointing
- Where his toes is pointing
- Where his shoulder line is
- What his elbow angle is
- What his knee angle is
- Where his glove arm is
- Where the ball is facing
There’s a few more items on this list but we won’t over-complicate things. Let’s talk about elbow angles.
Elbow Angles in Pitching
The elbow angle should be 90 degrees, plus or minus a few degrees, though erring on the side of slightly less, seems to be best for velocity.
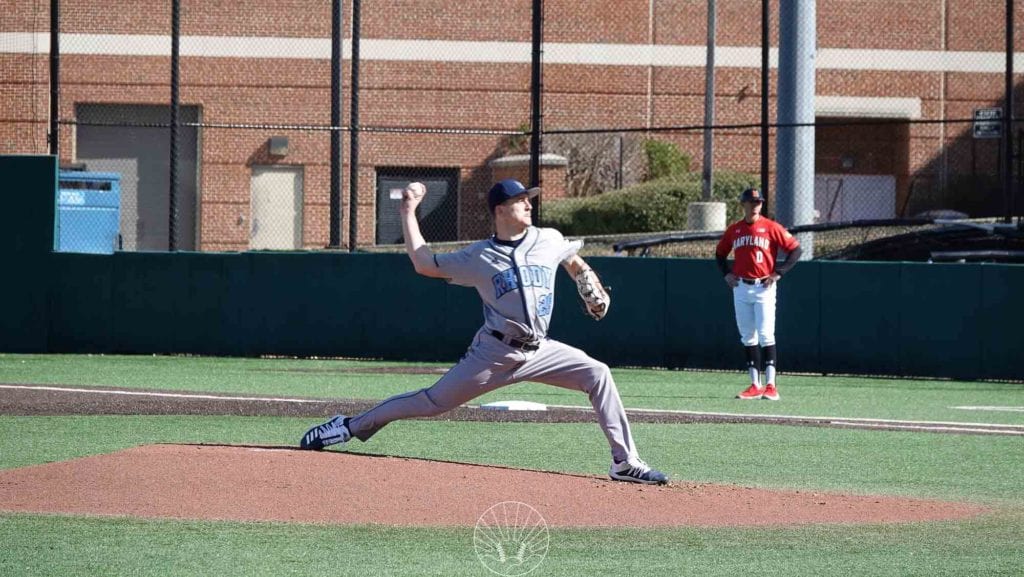
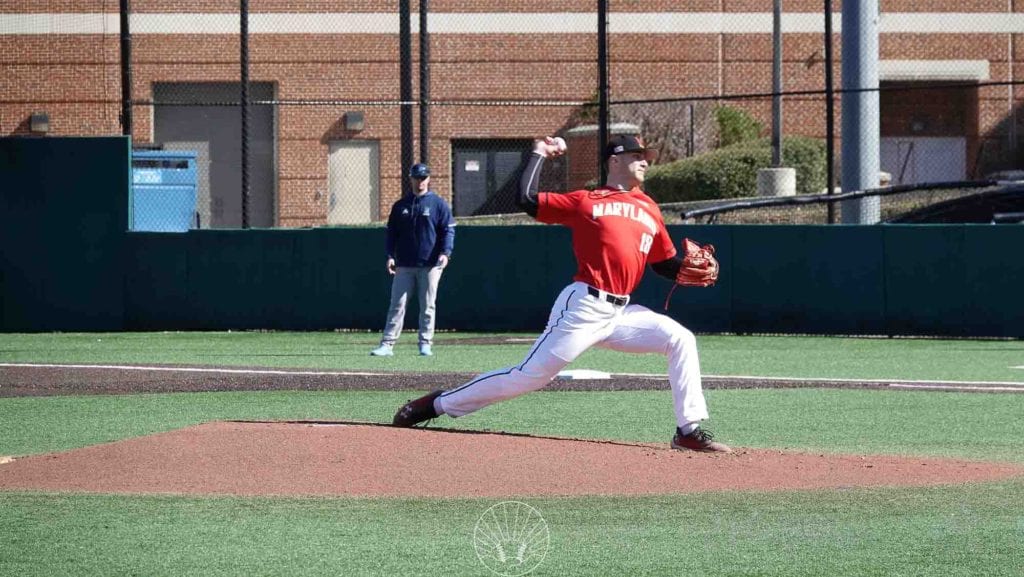
Getting a pitcher who has an elbow angle that is more obtuse than 90 degrees isn’t as simple as yelling at them to think about their elbow angle, or try to keep it at 90. That really doesn’t work.
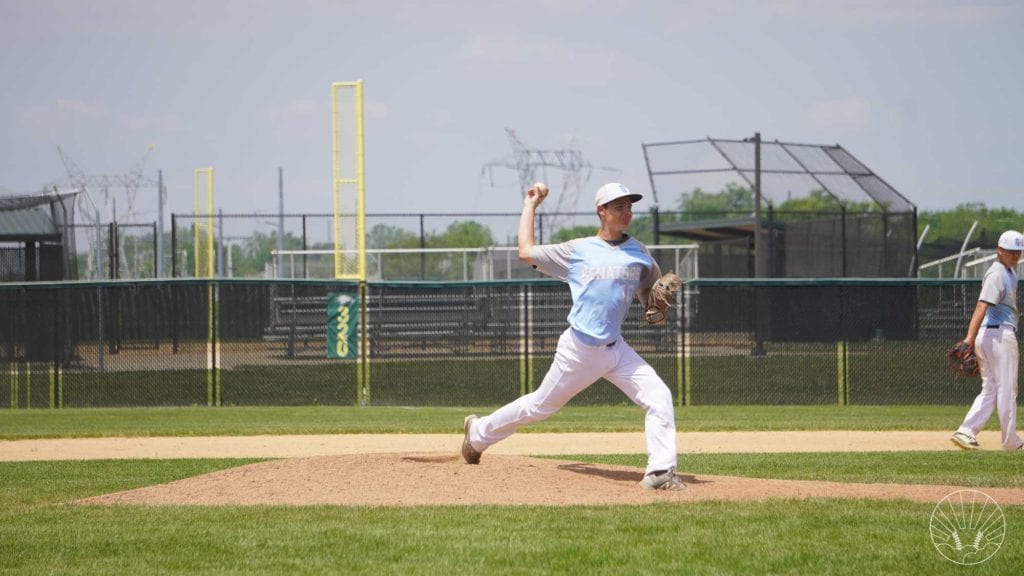
Rather, what happens earlier in the delivery often has a say in what happens at the elbow when it’s “go time.”
Basically, if a pitcher does the following, his elbow angle will increase beyond 90 degrees (which is bad):
- Has a very long arm backswing
- Flies open too soon (meaning his hips open up before landing)
- He rushes down the mound (meaning his weight shifts forward too soon)
All of these major problems will be the biggest influence on the elbow joint angle. It’s important to address these, rather than the root cause (which is just a symptom).
12 | Glove Arm Tuck
The glove tuck is often misunderstood. Let’s discuss:
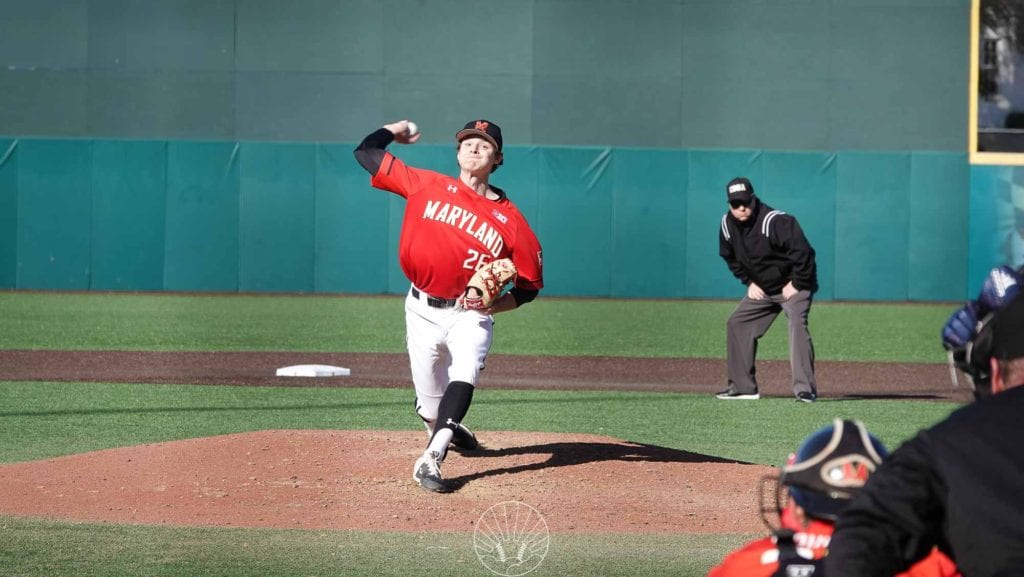
The glove arm won’t exactly pull in, but it will fall by the side and may appear to tuck.
In reality, the pitcher’s chest moves toward his glove as it folds completely to the side, clear of this upper body.
The important thing here is that the upper arm of the glove side gets completely clear of the body–not hanging in front of the chest or waist. If it gets all the way to the side, it helps improve the rotation speed of the torso, which is a major component in pitching velocity.
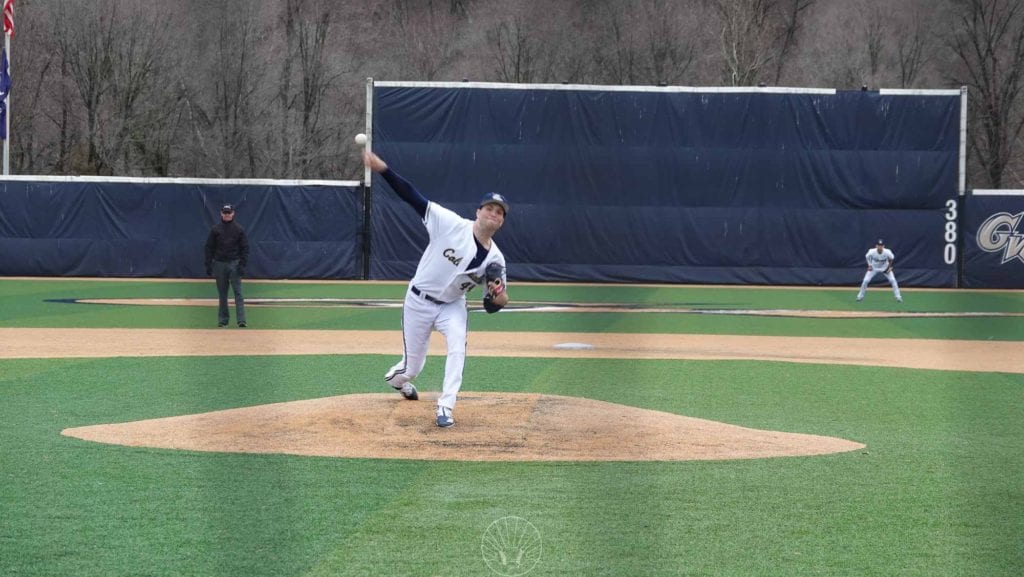
Now, there’s one caviat: the pitching arm shouldn’t just flop out to the side like many youth pitchers tend to do. This makes a pitcher more wobbly and less accurate–having the glove fold down in a compact manner is something you see pretty much every MLB pitcher do.
Key takeaways for the glove tuck:
- The pitcher’s chest will move toward the glove, though it will appear and feel to be the opposite sometimes
- The glove arm should fold compactly into the pitcher’s rib cage, clear of the front of his body
- The glove arm should not hang in front of the body, or flop off to the side like a salmon
This Video Explains How the Glove Tuck Affects Mechanics
Check it out below as I discuss a number of different pitching problems that cause the arm angle to change.
When assessing pitching mechanics, it’s really important to keep in mind that lots of flaws you’ll see are symptoms, not causes. The arm angle–especially when it’s low and looks a bit off–is most often a symptom of poor weight shift, front side, not going uphill, and more.
13 | Arm Angle & Elbow Height
A common question I’m asked is what the elbow should look like at ball release. Well, the arm should be *mostly straight. Below are a few examples.

This is a big topic, one that leads a lot of baseball parents into confusion:
Is my son’s arm angle okay? It looks like he throws sidearm? Where should his arm angle be?
Valid questions.
Proper Elbow Height & Mechanics
There are a lot of different ways to throw a ball, but arm and elbow mechanics remain somewhat constant even as arm angles (also know as arm slot) can vary quite a bit.
A good release looks like this:
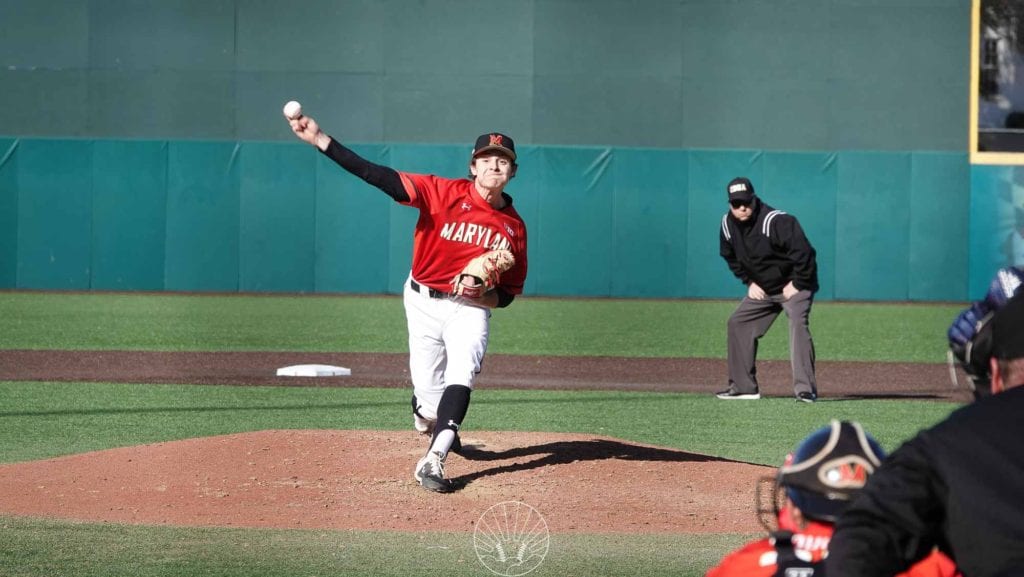
The first thing to cover here is what a good elbow looks like at pitch release. It has the following qualities:
- Elbow is *almost straight at release – not completely locked out, but pretty much straight at a glance
- The arm should be in line with the shoulder line – the elbow shouldn’t be below it
- Arm angle is created by the shoulder line tilt – pitchers who tilt more have a higher arm angle
- This third point is key – pitchers really only tilt their upper bodies to change their arm angle, not their arms themselves. Sidearmers just have less tilt than 3/4 or over-the-top pitchers.
Here’s another good release:
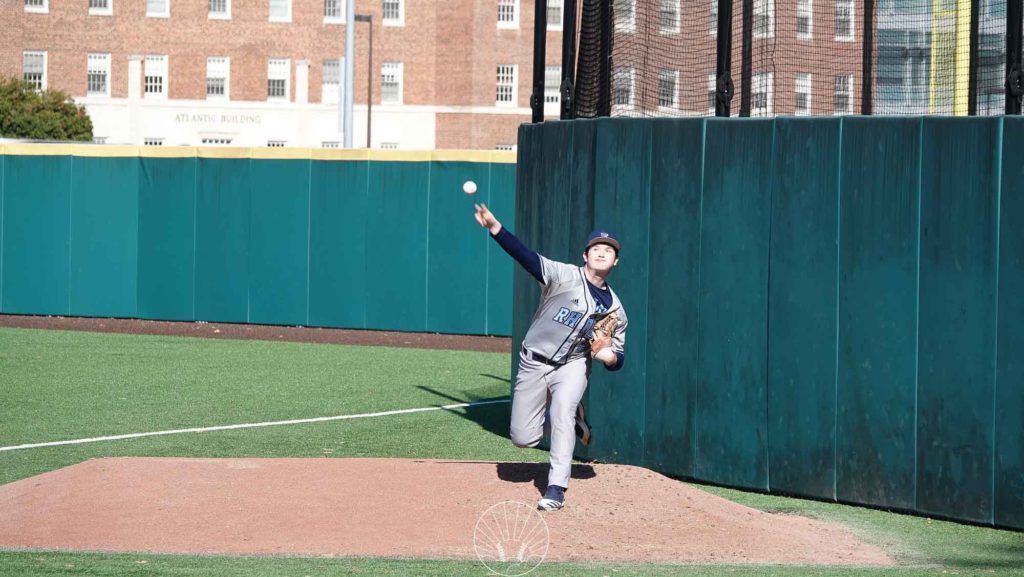
The elbow angle below might be a bit below his shoulder line, but this pitcher still threw 88-90mph at a D1 university. He has a lower arm slot – a low 3/4 type delivery.
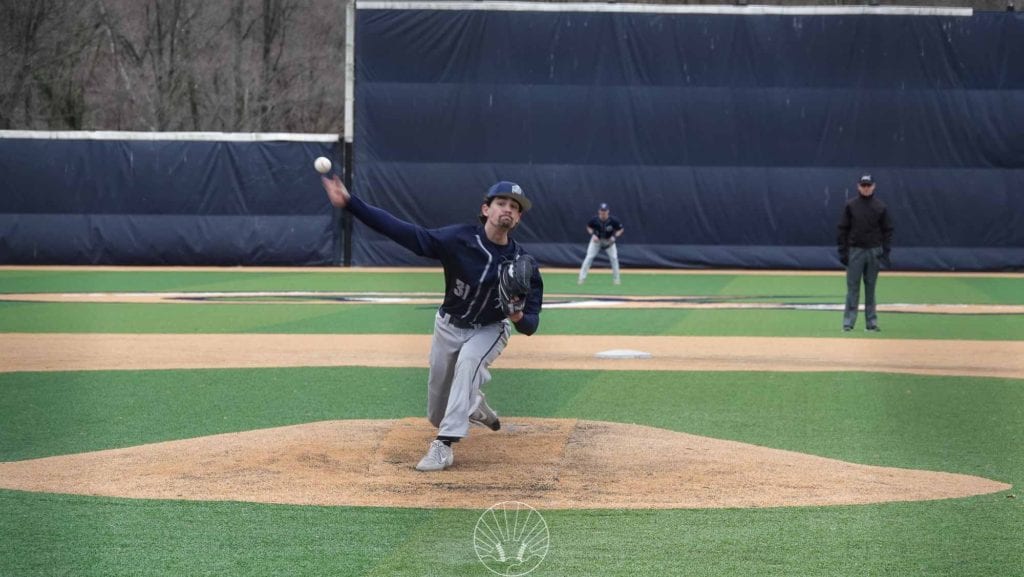
What’s The Correct Arm Slot for Me/My Son/My Pitchers?
When teaching young players how to pitch, I’ve found that arm slot is a highly personal, unique thing. I firmly believe–and have seen it time and time again working with pitchers–that when coached into proper body mechanics, the arm slot will figure itself out.
Some pitchers throw extremely well from a lot arm slot, like the two pitchers shown in photos above.
Other pitchers throw their best from high arm slots, or 3/4 arm slots, or everywhere in between.
Every human being is different, and the way every baseball player produces power is different. To try and make one pitcher look like another is…misguided.
Yet, Some Arm Slots Are Where They Are Because of Bad Mechanics
This is the only caviat that I’ll throw in here – sometimes, especially with youth pitchers – the arm slot is artificially high or low because their mechanics are not right.
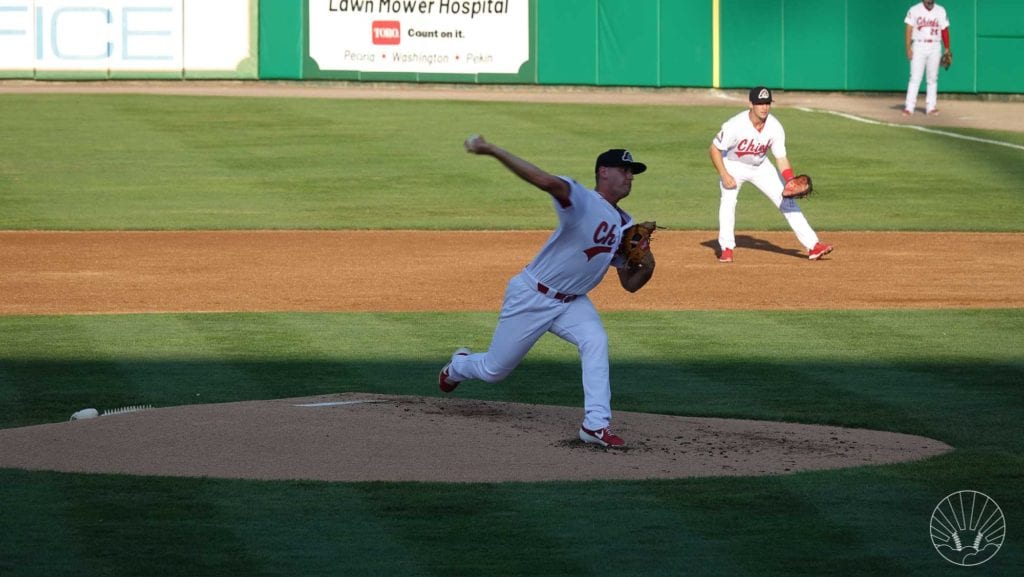
Again, as I mentioned a few lines ago, the idea is that with good coaching of body mechanics (the rest of the body), the arm slot should figure itself out and not really require any coaching.
This means:
“Throw from a little higher!” or “throw with your arm a little lower!” is BAD advice, and bad coaching in 99% of instances.
For more on arm angles, please watch this video I created:
Again, don’t try to force any one pitcher to look like anyone else. They’re all unique, just like snowflakes.
14 | Center of Chest Moves Toward Plate
As the pitcher starts to accelerate toward the plate, he’s not going to merely rotate and spin in place.
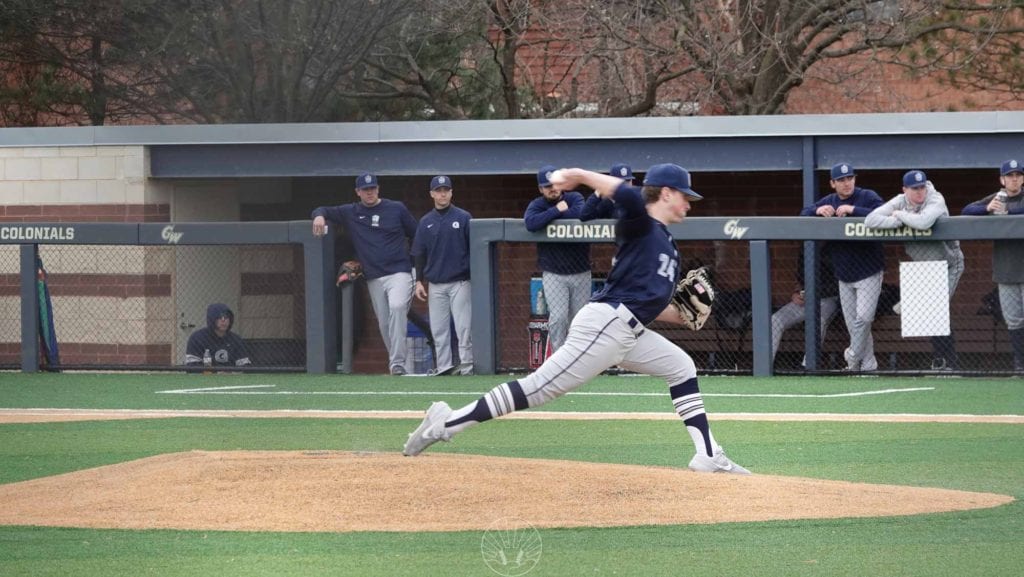
Rather, it’s a combination of both rotation AND linear movement toward the catcher.
What this ends up looking like is the following, where the pitcher’s chest pushes toward the catcher as he finishes his rotation. This adds velocity and probably accuracy as well, as it’s moving the center of him toward his target.
Pitchers get power from the forward movement of their torso, in addition to rotational power.
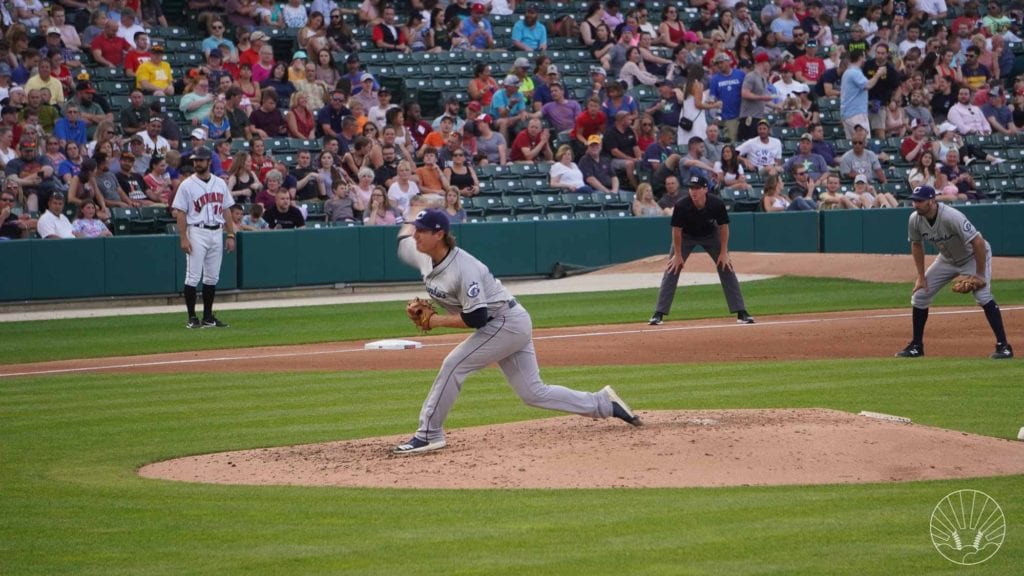
As they begin to accelerate the ball and the arm lays back into that gross-looking externally rotated position, the chest is rapidly turning toward the plate.
Remember: the pitching delivery is not just a turning motion–it’s also a forward movement, wherein the arch in a pitcher’s lower back begins to uncurl and press the chest toward the plate.
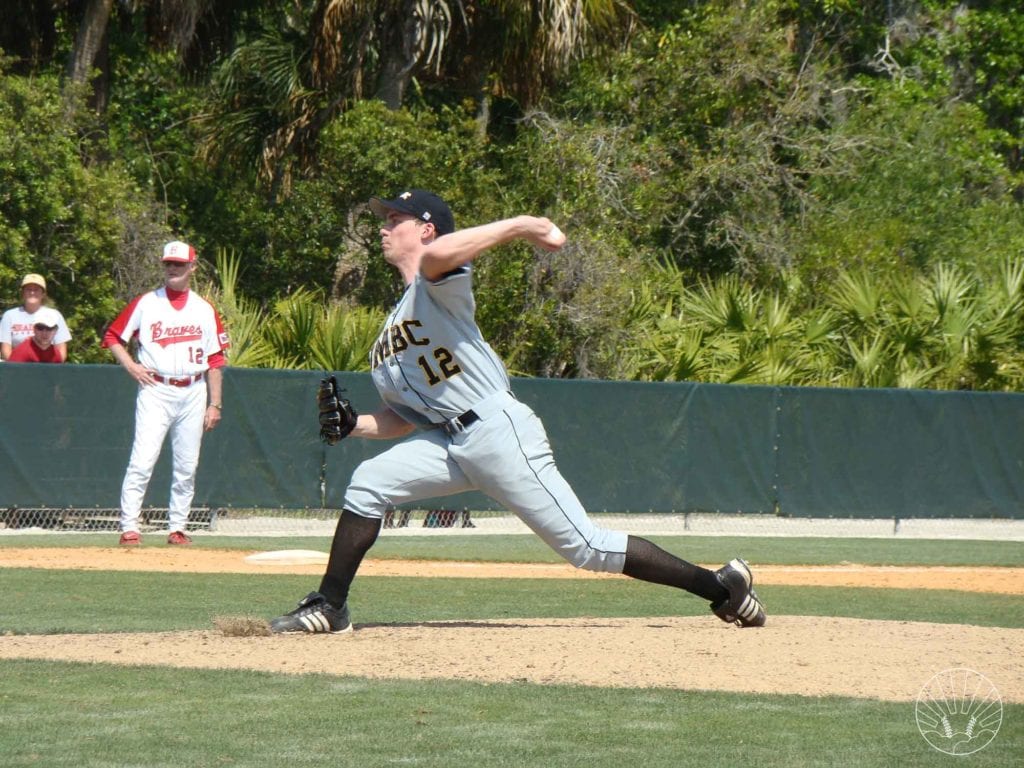
For pitchers to throw their hardest, and be more accurate and directional to the plate, they need to use their legs, keep their shoulders tilted upward during their stride, then use their front side to not only rotate them toward the plate but also press their chest toward it. One of the keys to pitching a baseball at max velocity is using the trunk.
Video of Verlander Pitching a Baseball: Great Slow Motion of his Mechanics
The video will autoplay at 0:27, but reset it there to watch again. Watch how his back goes from arched to forward.
Verlander does lots of really interesting things in his delivery, but the way he uses his upper body is one of the most unique to him.
15 | Arm Powers Through The Pitch and FINISHES IT
Every pitcher’s goal is to increase his pitching velocity and throw harder with less effort. It’s a noble cause, because throwing faster allows a pitcher to make more mistakes.
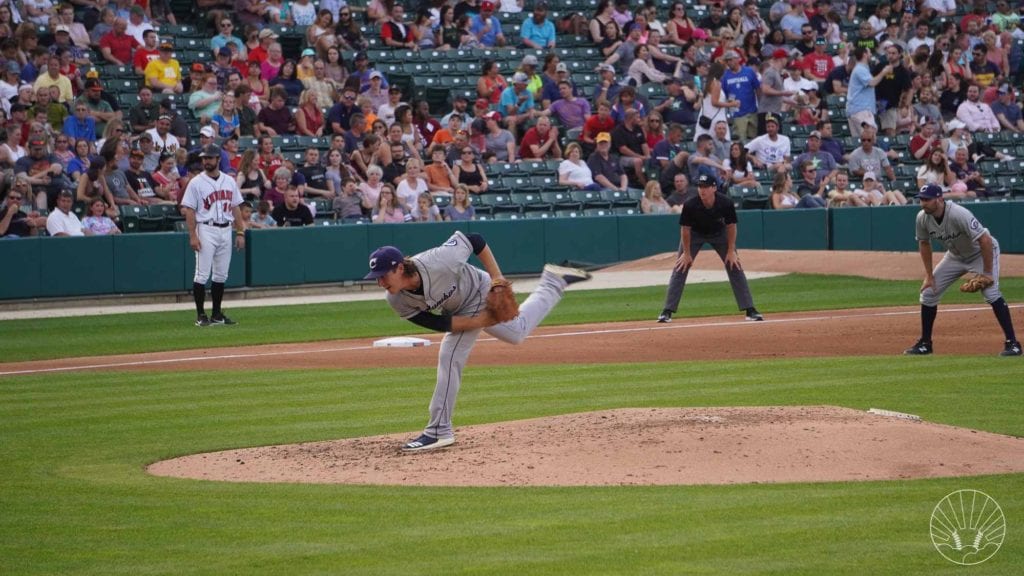
Too many young pitchers give up on the pitch early, and their follow-through is rather pathetic. This causes a number of problems:
- They give away free velocity by letting off the gas too soon
- They apply less spin to the ball, which gives both fastballs and breaking balls less bite and life
- They tell the hitter that they aren’t really coming after them
- They actually lose accuracy and command because they end up aiming the ball
When you watch high-level pitchers pitch, THEY THROW THE CRAP OUT OF THE BALL.
But, it’s not early acceleration of their arms–it’s LATE acceleration that all hard throwers get–that last little bit of the baseball, where it really “catches” off their fingertips–that’s where they get their extra pitching velocity.
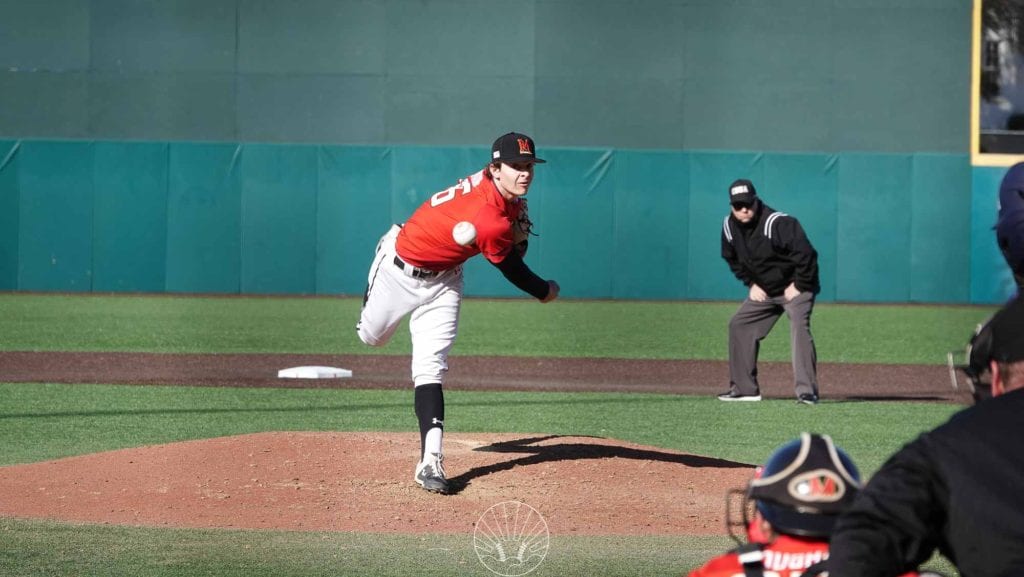
This part isn’t really pitching mechanics, per say, but it’s a critical part of the delivery.
The hardest throwers throw the absolute crap out of the ball, and “get” every last bit of it as they pump it toward the plate.
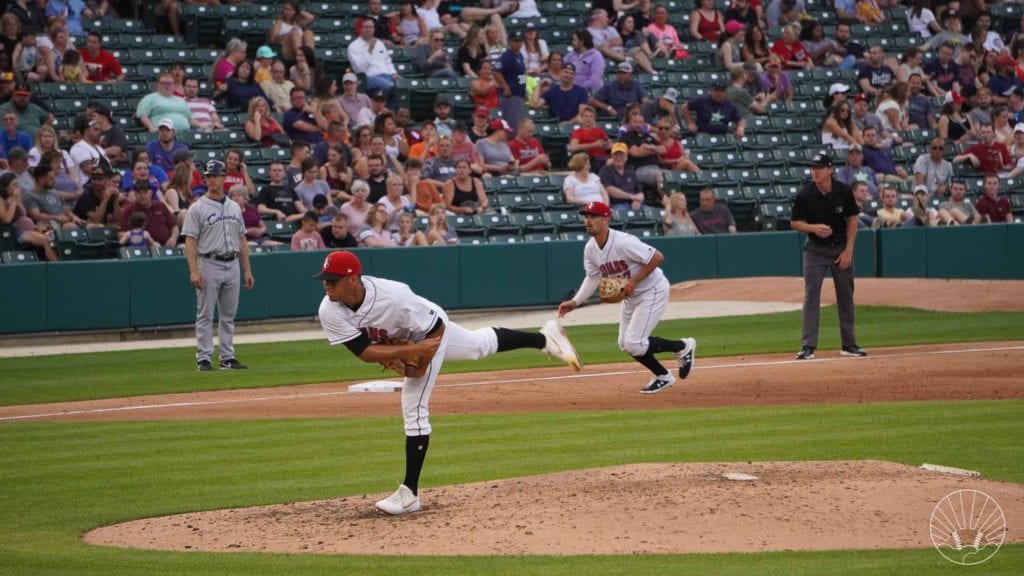
Many amateur pitchers have extra MPHs in the tank because they ease off the gas too soon and don’t really keep accelerating, keep pulling down on the pitch til the bitter end.
And, as a bonus, this great, aggressive finish produces a really good follow through as well.
16 | Follow-Through: Arm Should Bend at End
What does a good follow through look like?
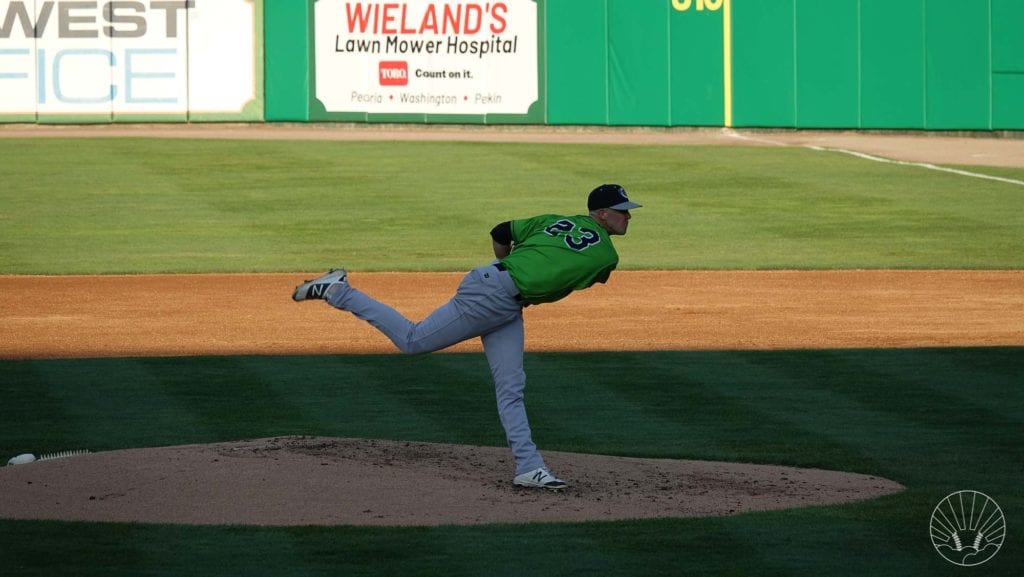
Follow through should happen naturally after pitching a baseball, as the arm needs as much space as possible to decelerate.
But, there is still a right and wrong way.
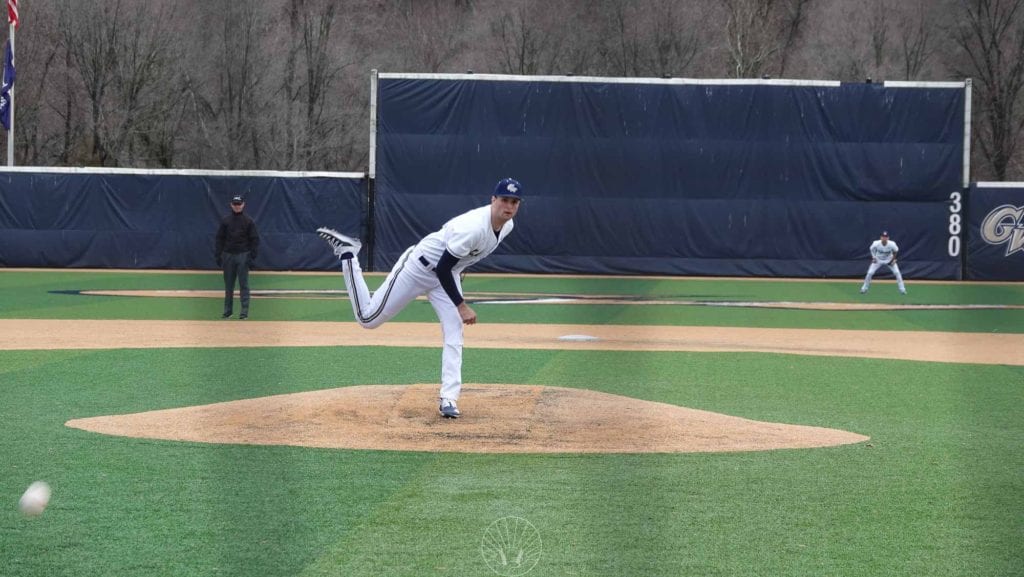
Follow-Through DON’Ts
- Keep a straight arm all the way through follow-through
- Stop it short in front of the body
- Follow through on the same side as the arm
Follow-Through DOs
- Let the arm stay loose and keep moving until it hits the glove-side rib cage
- The arm should bend at the elbow in the second half of the delivery
- This is believed to help reduce strain on the labrum and biceps, as the biceps contracts isometrically when its keeping the arm straight. Bending relieves this stiff muscular contraction and thus releases that tension on the shoulder labrum, which is connected to the biceps.
- The arm should always follow through across the body–to the glove side–in the same angle as the arm slot
17 | Front Leg Bracing: Transferring Power
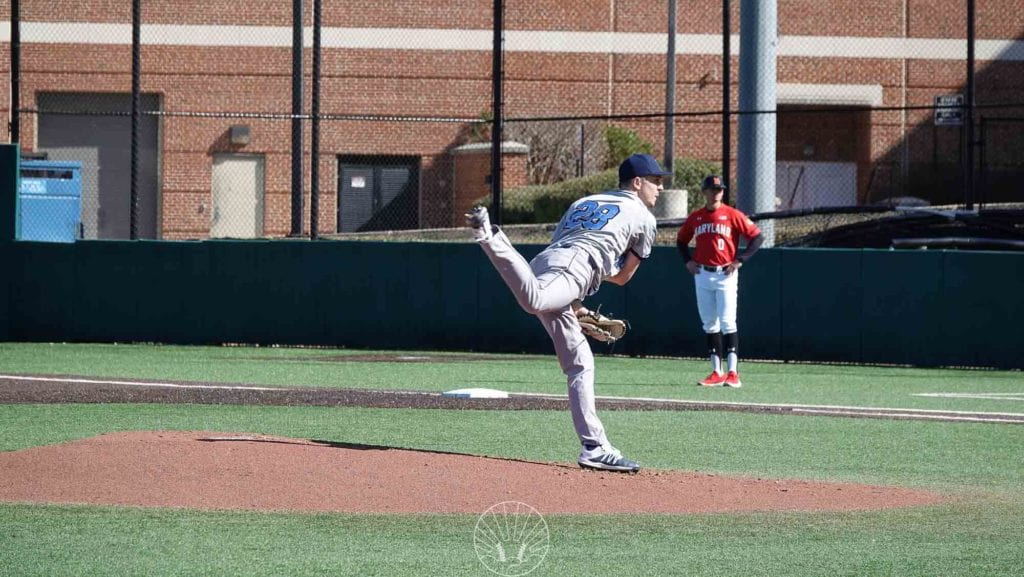
Okay so even though we just finished the follow through, we need to talk about the front leg in an earlier part of the pitching motion, as well as at the end.
So, we’re going to do it all at once.
What’s the role of the front leg in pitching? It braces, stiffens, and transfers power from lower to upper half.
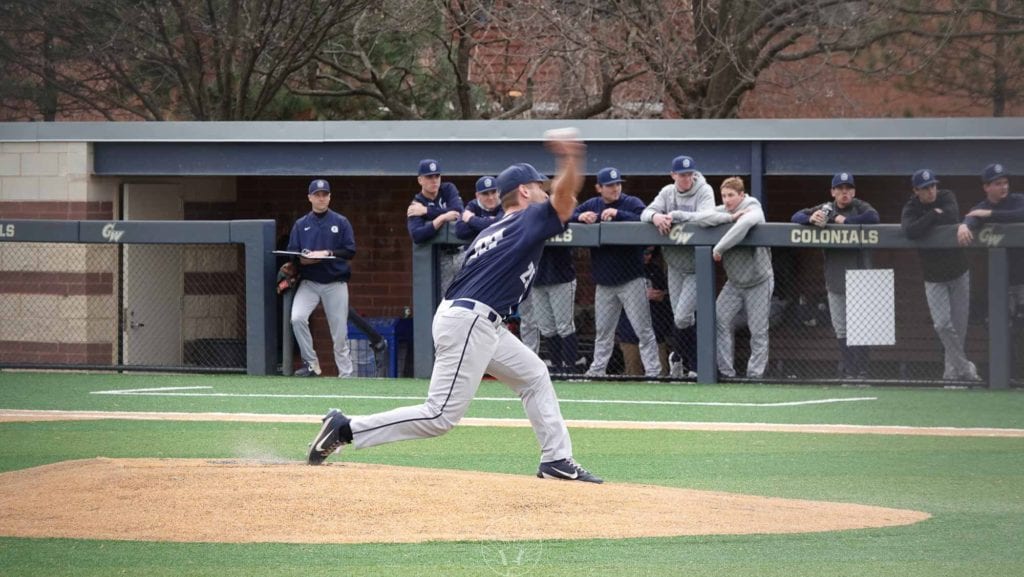
A strong front leg should stay stiff as soon as the stride foot contacts the ground. The angle at the knee at this point should be around 130 degrees, and should NOT sink any further.
Then, the leg will straighten as power is transferred from the lower half to the upper half.
By staying stiff, the legs allow this power to be transferred. If the leg bends, it allows power to be absorbing into the legs and ground instead of being sent to the upper half (and then the arm).
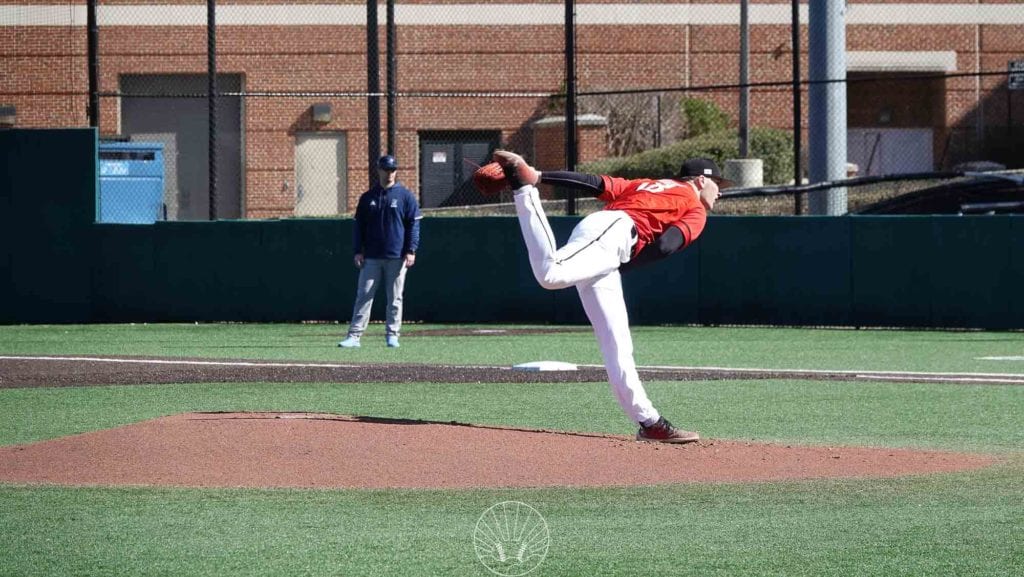
Watch the video below, with examples from amateur and MLB pitchers and a breakdown from me.
In essence, the front knee will brace–or at the very least, remain stiff with an angle of 130 degrees or so–for the pitcher to transfer his weight over his front side.
This transfer of energy from the lower half to the upper half is a lot like how pole vaulters transfer energy into the pole.
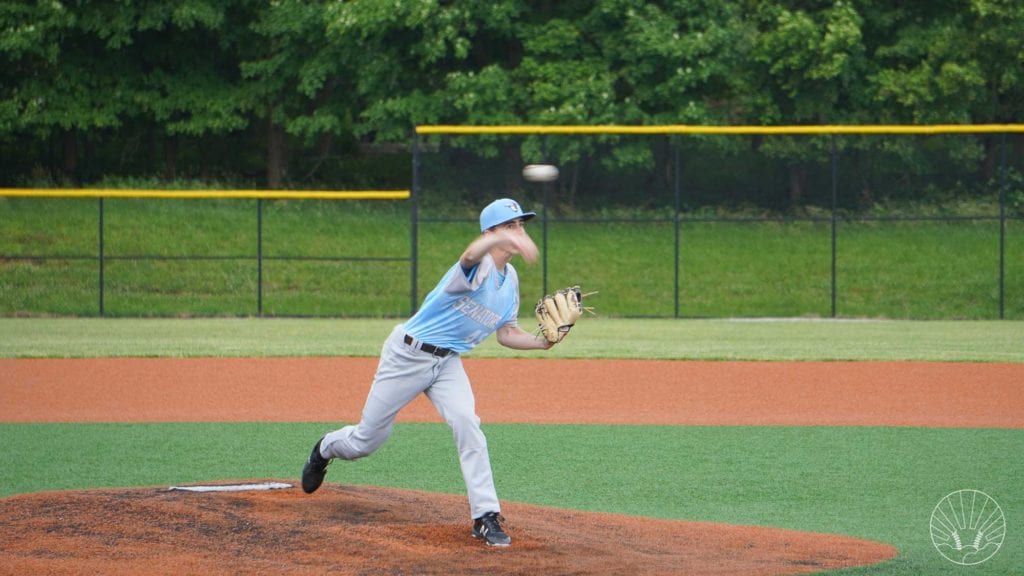
LOTS of youth pitchers have bending, sinking, poor front legs–it costs them MPHs off the fastballs and reduces the downhill angle from which they throw, in addition to making their offspeed pitches less sharp and effective.
In learning how to pitch, we have to focus a LOT of time on the legs.
In summary, the stride leg is VERY important and worth training, something I show you to do in my extensive online course.
18 | How the Back Leg Follows Through
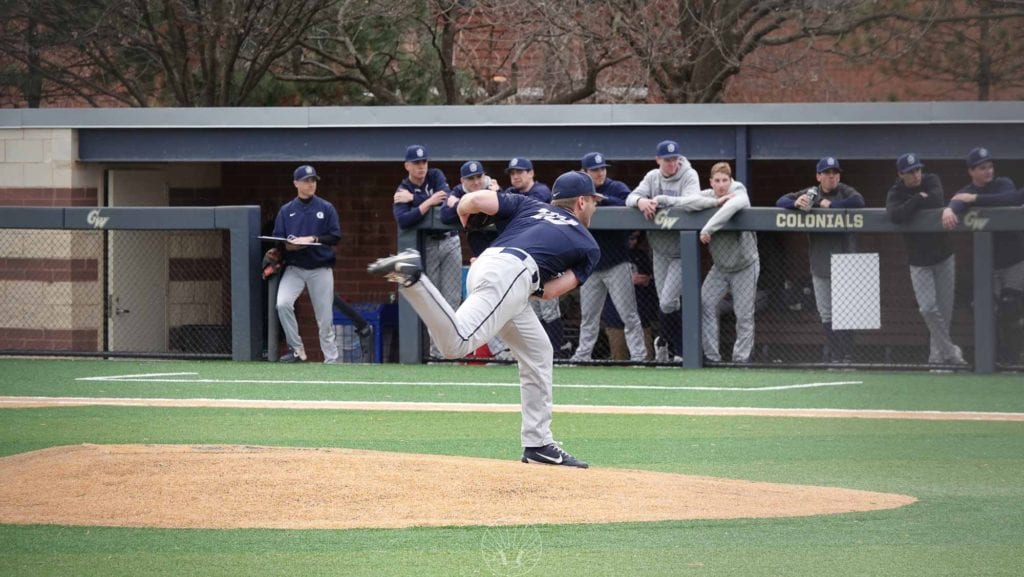
I’m often asked how the back leg should follow through:
- Should it come up around around?
- Toe drag: Good or bad?
- Should the back leg stay straight, bend a little, or bend a lot?
What You Need to Know About The Back Leg
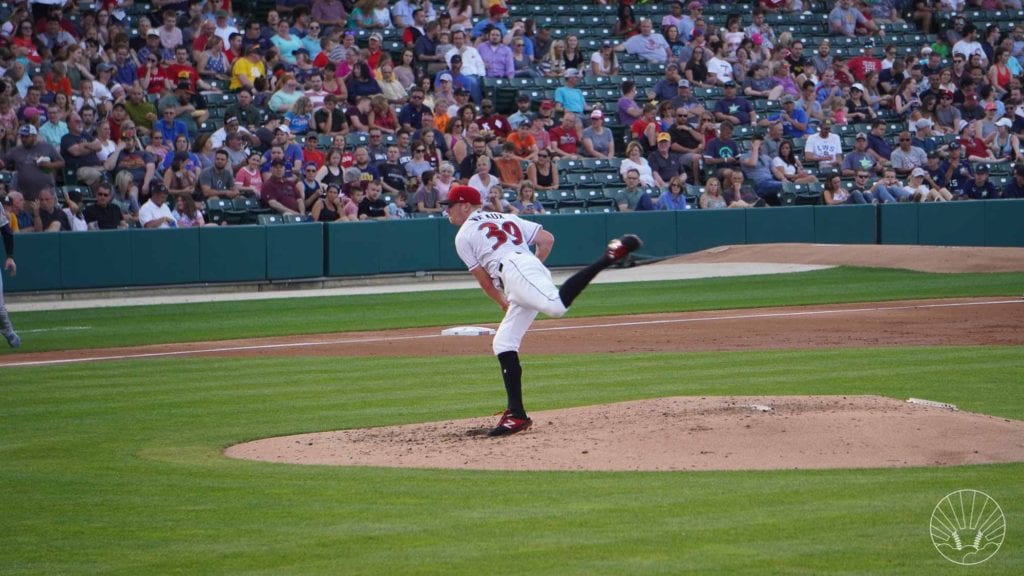
- The back leg gets “wound up” like a rubber band and needs to uncoil as the ball is released. The stored energy in the hips has to go somewhere
- This means it will naturally want to rotate out and around, which is good and normal. So, let it.
- The back leg should stay long and mostly straight during acceleration, or it can bend a moderate amount
- There are pitchers with very long, straight back legs who throw 100mph
- There are 100mph pitchers with legs that bend to almost 90 degrees, and come off the ground by 1-3 inches
- So, either of these are okay and more of a personal preference–if it works, it works. If the velocity isn’t there, then we should try to straighten the leg out a little more.
- You don’t fix the back leg by fixing the back leg.
- Fix the back leg by looking at how the pitcher uses his back leg during his stride.
- Correct the back leg by looking at how the pitcher uses his hip bump during his stride.
- Improve the back leg by looking at how the pitcher tilts his shoulders during his stride.
- Basically, the back leg at acceleration and follow-through is a slave to what happened earlier in the delivery.
- Hard throwers tend to have longer back legs.
- Lots of amateurs have back leg issues, with too much bend. To fix this, they need to improve their stride and weight transfer.
- It’s perfectly fine to drag the back leg – it doesn’t decrease velocity whatsoever.
19 | Fielding Position: Does it Matter?
This is another thing that used to be harped on quite a lot. Nowadays, we’ve come to understand that fielding one’s position is more about reflexes and good reactions, and less about purposefully putting the body into a comfortable, square fielding position.
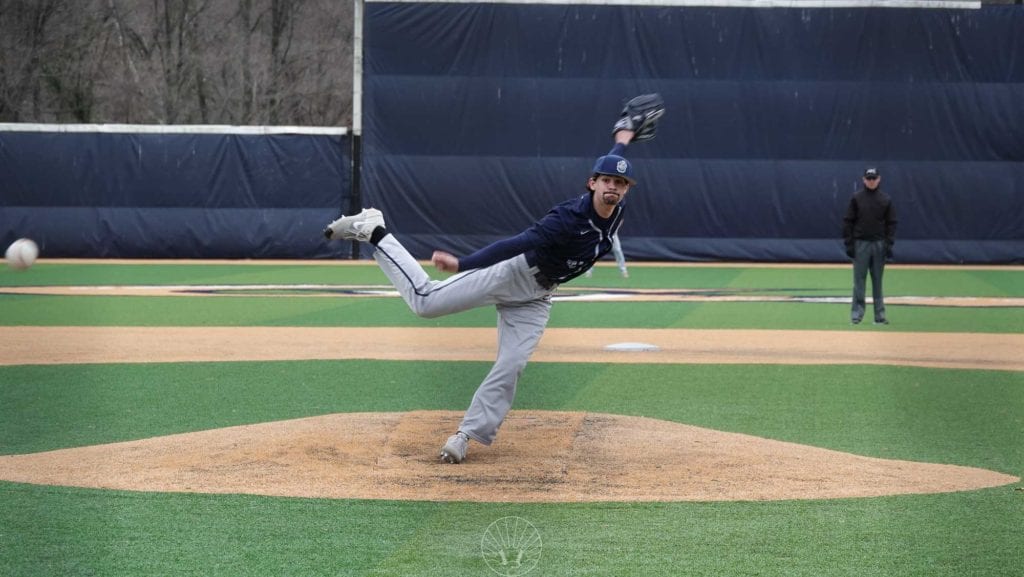
SPOILER: Fielding Position Doesn’t Really Matter.
Pitching the ball is all that matters, and fielding position is purely a reactionary thing.
There’s no time during the pitching delivery to consciously try to get into good fielding position.
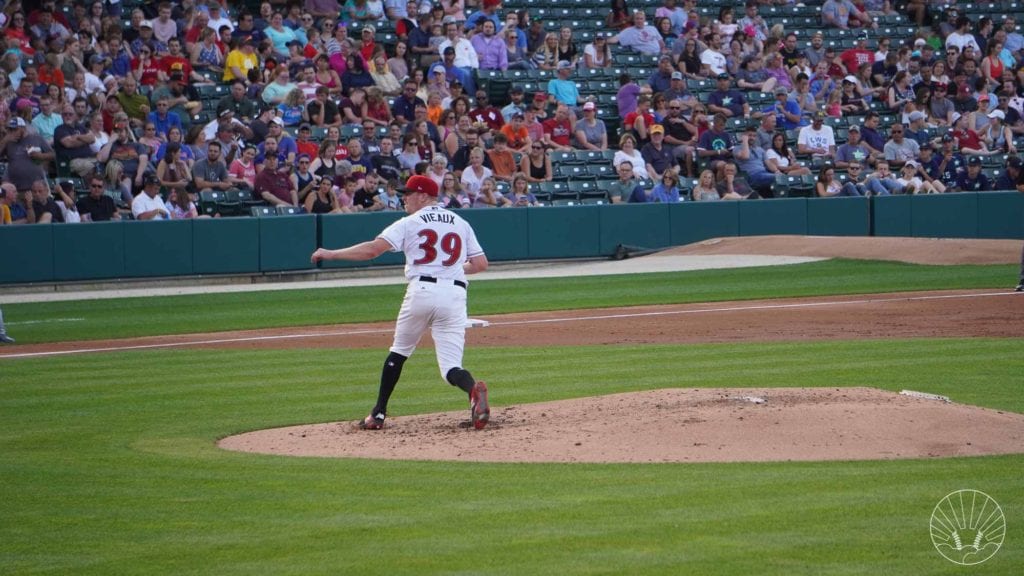
And, once the ball is released, by the time a pitcher sort of “comes to” and snaps himself into some sort of fielding position, the ball would have already been hit and been all the way to him.
I got hit so hard by a line drive I could only blink.
It was in college and I still remember it vividly.
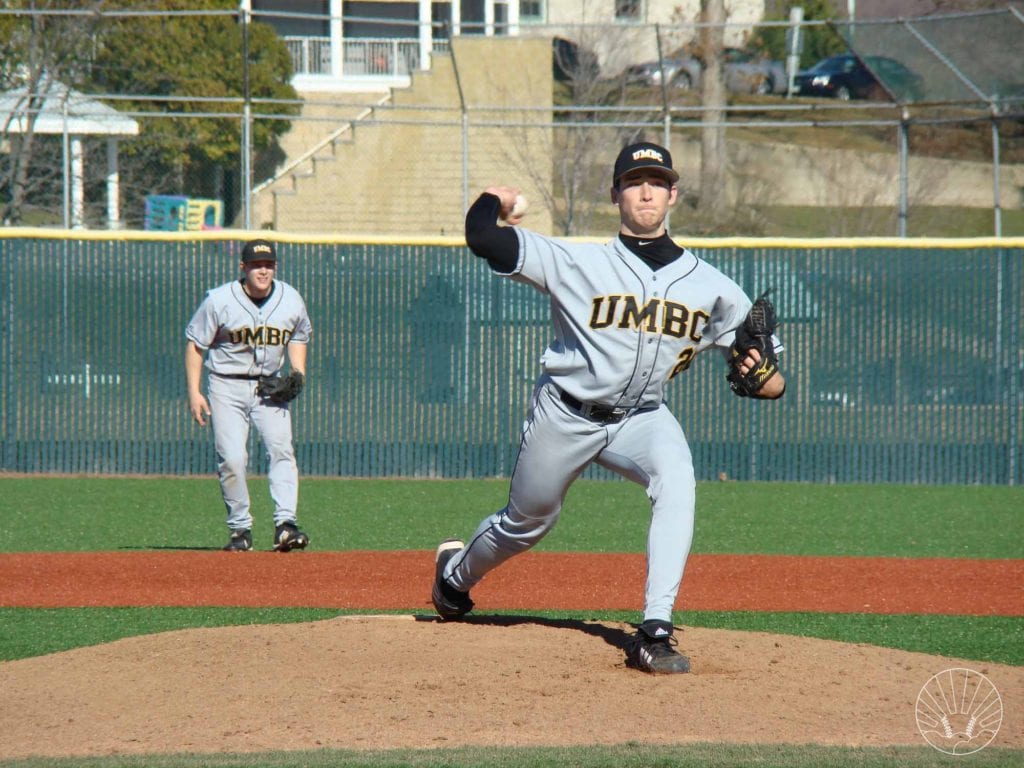
I actually had a very stable, “good fielding position” kind of delivery. When I was still pitching, I finished in a pretty normal position, just like Greg Maddux or any of those old guys who were great at fielding.
But really, it just comes down to reflexes–if a ball is close enough to be snatched, snatch it.
Once in college, I watched a line drive right off a hitter’s barrel into my mid-thigh of my leg leg. It was hit over 100mph and the only part of my body I could move was my eyes (so I watched it hit me).
What Pitchers Should Do For “Fielding Position”
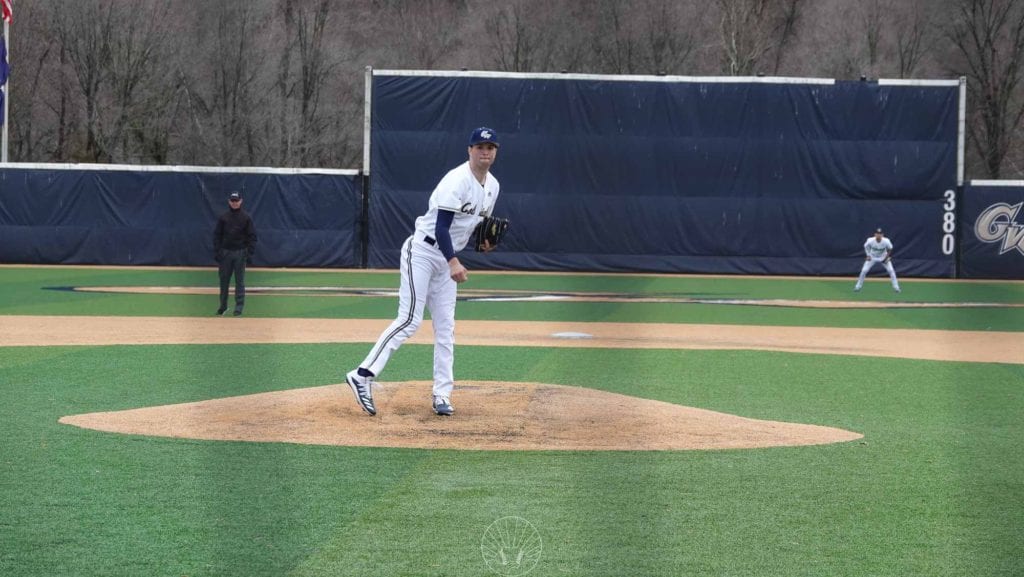
A pitcher should construct his delivery to best throw high quality pitches–as hard and accurately as possible.
Because every pitcher is different, the landing position after follow through will look different.
Some pitchers use more rotational force or are more violent, and thus will land in more awkward positions to field a ground ball. Coaching them out of this will make them less effective at their actual job: pitching the baseball.
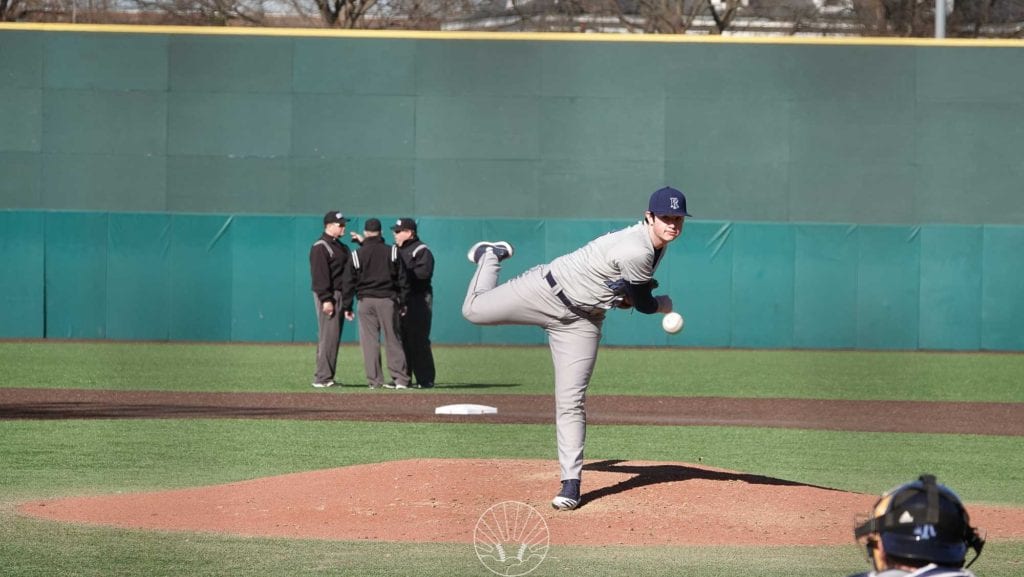
The reality is that comebackers are pretty few and far between, and they’re hit with minimal reaction time AND with fielders behind you. In short, don’t sweat good fielding position–you should NEVER change your delivery for fielding position.
Focus on making great pitches with mechanics that fit YOU.
But, DO practice fielding so you’re ready to snatch whatever you can, make a good play and get yourself an out.
Summary: The Mechanics of Pitching Don’t Have to Be A Mystery
Okay, I’ll admit – pitching mechanics can be kind of complex and overwhelming for the new player, parent or baseball coach.

But, we don’t have to make the pitching delivery more complicated than it is.
This is why I try to break it down into more actionable pieces and explain it in normal, layman terms.
Ultimately, pitching is a very athletic position that requires a lot of discipline, repetition and focus to be good at. It’s NOT easy to be a pitcher, especially with it being so hard on the body.
Keep Learning & Leave a Comment or Question For Me.
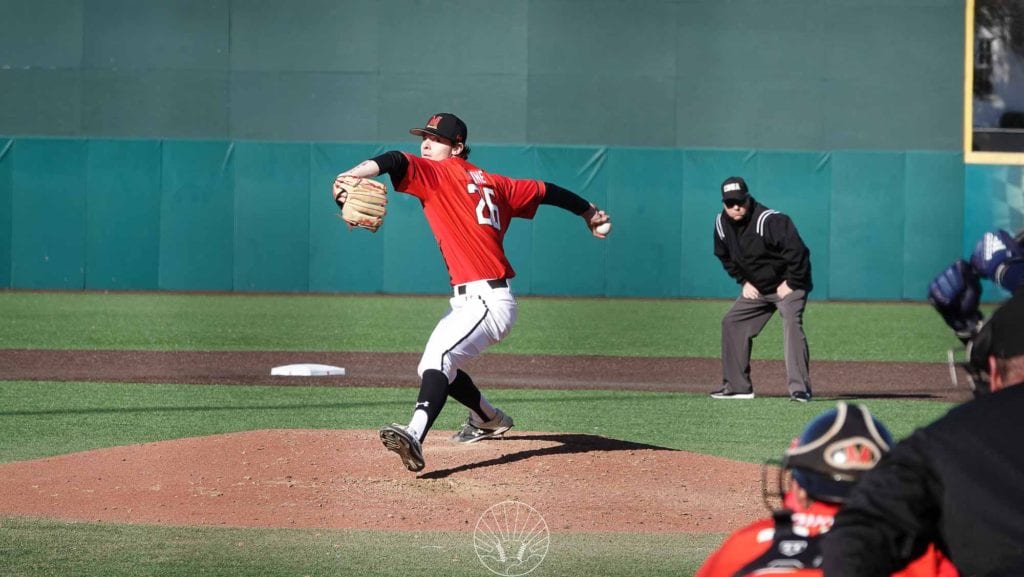
By learning as much as possible, you can take big leaps and strides toward being the coach and player you want to become.
Helping young men reach their goals in baseball is rewarding, and if you’re a coach or parent who has read this whole article to the end, then I applaud you and your efforts.
We need more good coaches who can take time out of their day, going above and beyond to help players succeed.
And if you’re a player, bravo to you for taking so much time to learn about your craft. This is a LONG article, but worth it if you came out with a new understanding of the mechanics of pitching.
Baseball is a heck of a great game, so keep working hard at it.
Great Pitching Books For Coaches and Players
Check one of these out, including one by yours truly.
More Pitching Mechanics Resources
The number one resource I have beyond my YouTube channel and my courses is my book. Grab a copy below.

If you need more pitching help, jump to one of these in-depth articles below:
- My Guide to Baseball Positions – Skills and Body Types
- How to Throw a Great Curveball
- How to Throw a Sinking Changeup
- How to Throw a Nasty Slider
- Sign up for my newsletter, free pitching checklist and free content updates
And, you’ll really love my books and courses, so definitely check them out:
What Did You Think of This Pitching Mechanics Guide? Leave a Comment Below
Have a question? Pitching a baseball at the highest levels is tough and requires years of practice. Hopefully this guide helped!
Pitching a Baseball Like a Pro: FAQ
Should pitchers still use the windup?

Yes – the wind up is really good for generating a little extra power down the mound and using momentum, gravity and a big leg kick to a pitcher’s advantage. However, more and more pitchers are switching to a stretch-only delivery and that’s OK too. As long as a pitcher feels comfortable, can throw strikes and get as much velocity out of his body as possible, then either way is fine.
How do I improve throwing velocity?

Its crucial to remember that to improve pitching velocity, mechanics are the biggest factors. If your body cant transmit the power it produces, then it doesnt matter how strong or explosive you are. Can powerlifters throw a baseball hard? Nope.
Things that will help a pitcher throw harder:
1. Improving pitching mechanics
2. Getting bigger and stronger in the weight room
3. Improve flexibility and mobility
4. Directly strengthening the rotator cuff, shoulders, scapula and forearms
5. Throwing consistently
6. Long toss and weighted ball programs when implemented safely and progressively by a good coach
Whats the most important aspect of learning how to pitch?

Consistency and repeatability. Pitching is very, very hard and to become great at it, you need to really love to throw. Loving the task of throwing makes everything easier, and it becomes less of a chore to put in the thousands of hours needed to really refine ones craft. A great throwing routine is super important because it keeps a pitcher on track, always getting a little bit better every day.
How do you teach youth pitching mechanics?
Start with the windup and stretch – they are critical and will build initial comfort in the delivery. Then, work on the hip bump, shoulder tilt, and stress a good glove arm action that leads the pitcher to move his chest forward to the plate.
Leave a comment and let me know what you think!
– Coach Dan
